
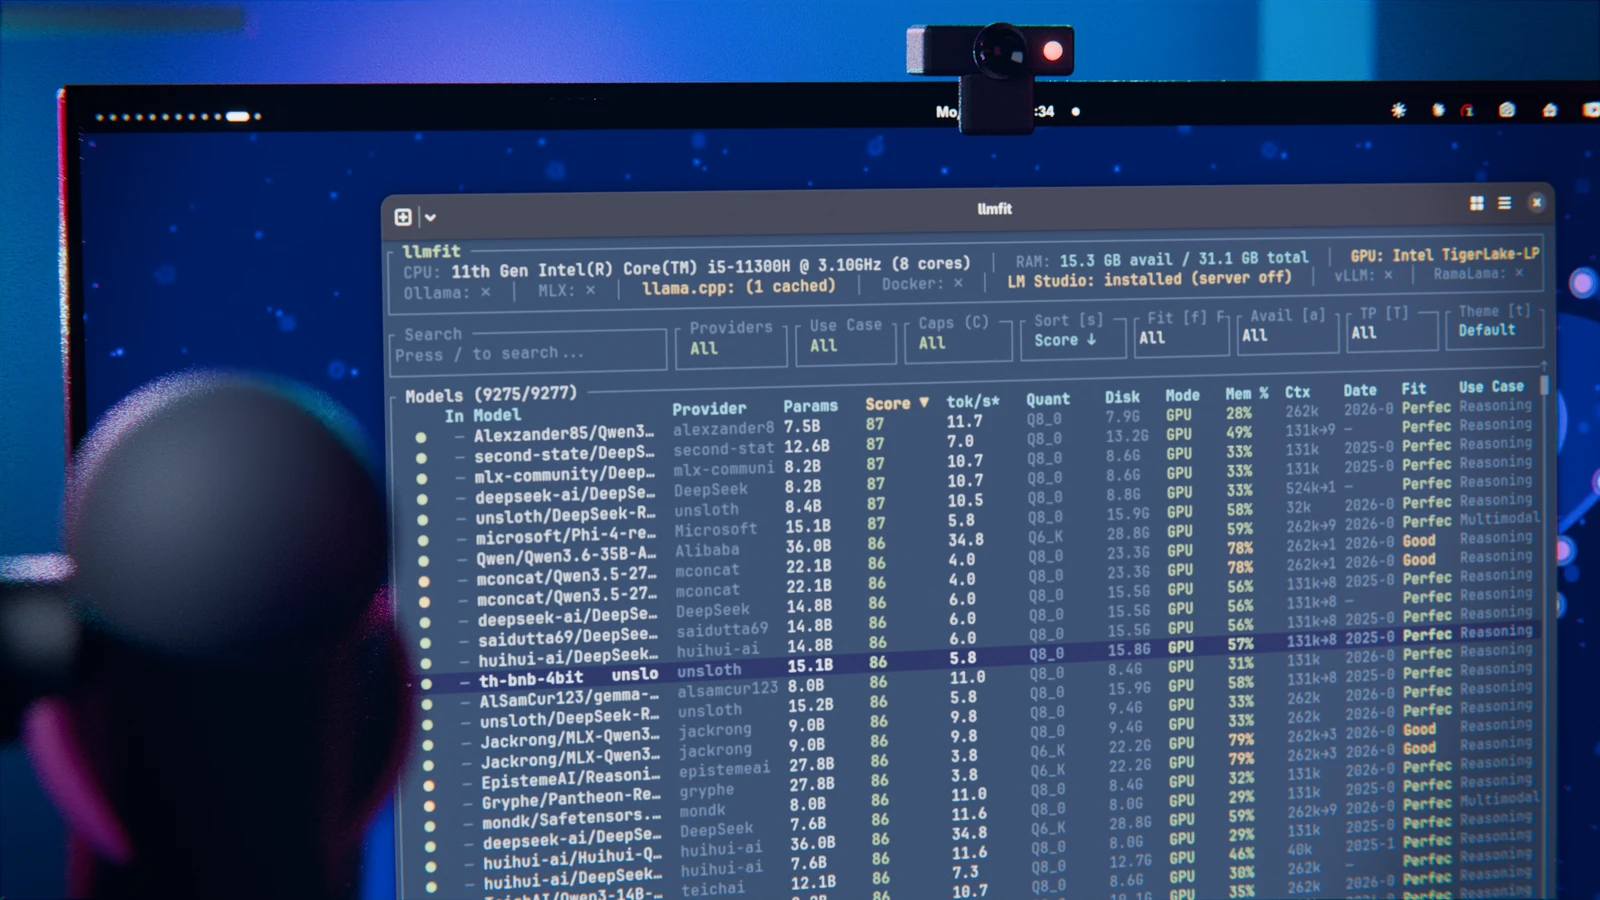
Anyone who wants to try local AI will eventually run into a pretty mundane question: which model actually runs on my machine? The selection of open-source LLMs is huge by now, and the candidates differ quite a bit in size, quantization, and memory requirements. If you go digging through model cards and gigabytes of GGUF files, that’s a whole evening gone.
llmfit takes this research off your hands. The open-source tool reads out your hardware and compares it against a database of language models. What you get is a pretty concrete answer to what can actually run sensibly on your own machine.
Which models fit my hardware?
After launching, llmfit first detects your hardware: CPU, RAM, graphics card and available VRAM. It then compares those resources against the models it supports and sorts the list by a score.
This is useful mainly because raw model size isn’t the only thing that counts. A model can theoretically fit into the available memory and still run painfully slowly in practice. So llmfit estimates how well a model suits your hardware and what speed and memory requirements you can expect.
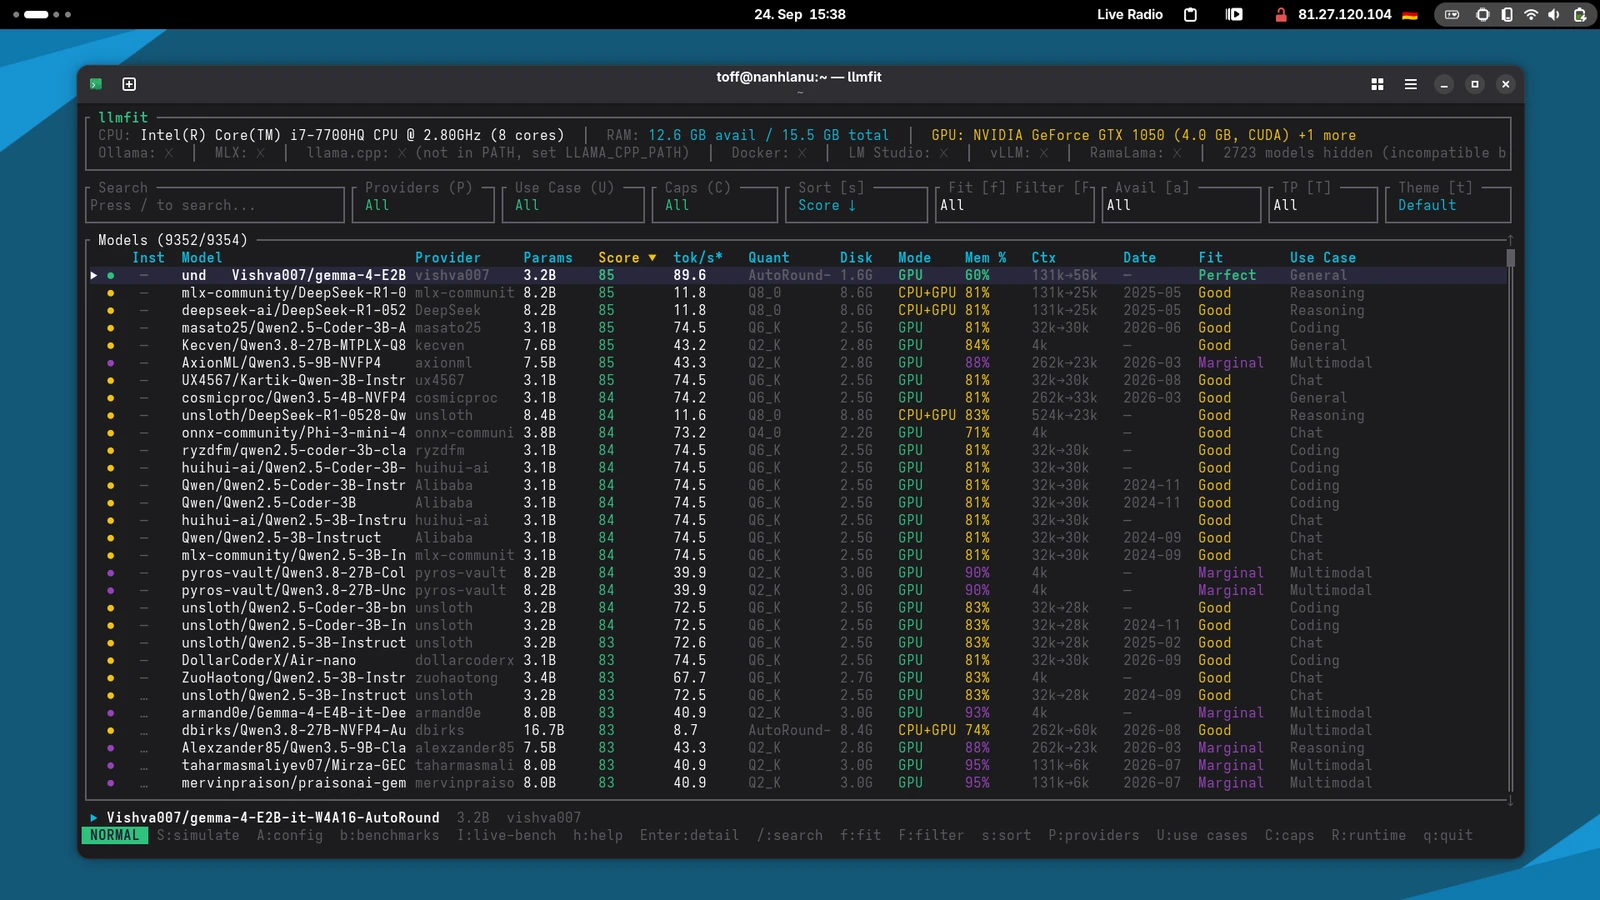
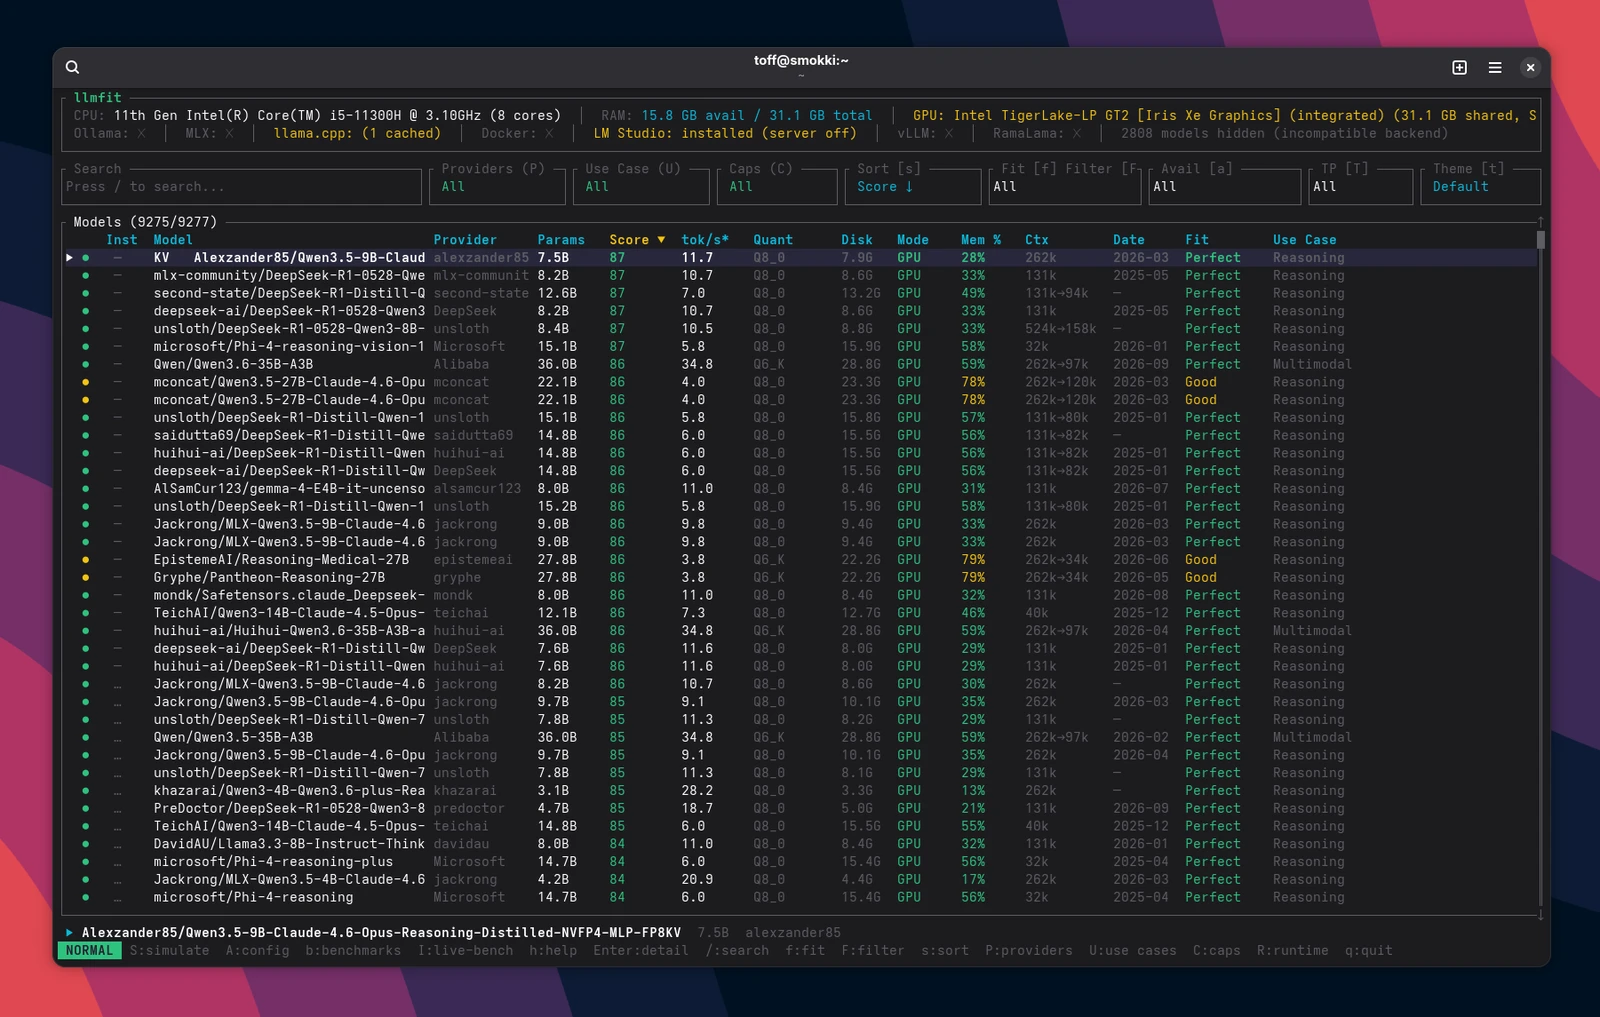
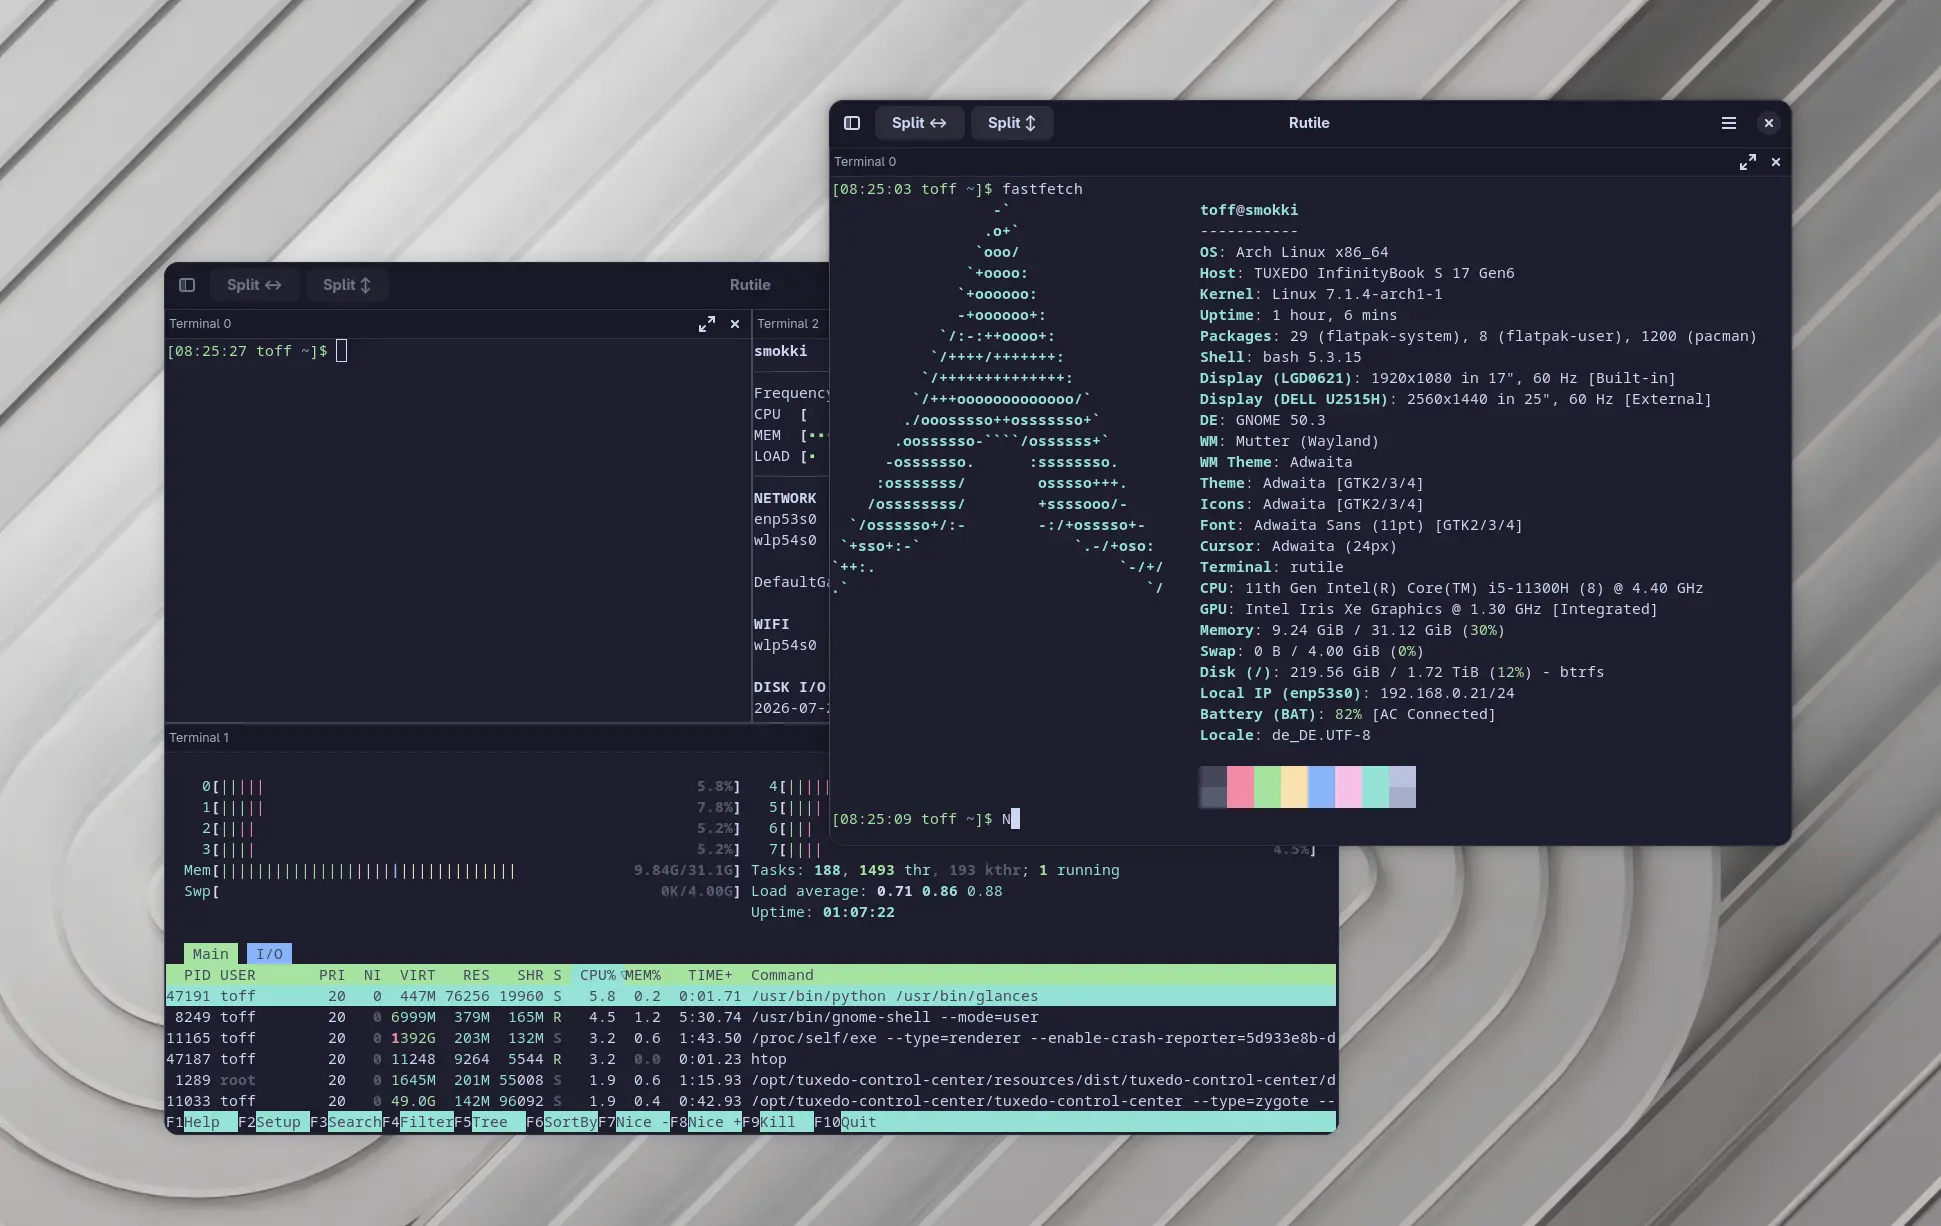
Just how much this differs from machine to machine shows up with two devices from my stash. On the laptop with a dedicated GTX 1050, the 4 GB of VRAM is a hard limit. On a computer with Iris Xe graphics, on the other hand, the CPU and the GPU share the same memory, and suddenly almost everything says “Perfect”.
The program also takes different quantizations into account. With locally run models, you quickly run into terms like Q4, Q5 or Q8. Put simply, this reduces the precision of the model weights to save memory and computing power. Depending on the level, you have to accept some loss in quality in return.
This matters most for GGUF models, which are commonly used for local inference. llmfit factors the different quantization levels into its rating, so it can also compare models that come in several variants.
If you’ve been using tools like Inxi on Linux to get an overview of your hardware, you already know the principle. llmfit goes one step further, though, and puts the collected data directly in relation to possible AI models.
Installation on Arch Linux
Update September 29, 2026: The wheel of time keeps turning, and on Arch it famously turns a little faster. When I started writing this article, llmfit was only available for Arch as an AUR package. Because of the turbulence and attacks on the AUR, I try to avoid it these days. In the meantime, the llmfit package has made it into the official Arch repositories, so all you need to install it is: sudo pacman -S llmfit
On Arch Linux, uv is available directly from the official repositories. That makes the installation pleasantly unspectacular:
sudo pacman -S uvAfter that, you can install llmfit as a tool with uv:
uv tool install -U llmfitNow llmfit is available right away as a command.
If you just want to try the program first, you can use uvx instead. That runs llmfit without installing it permanently as a tool:
uvx llmfitSo on Arch Linux, you don’t need a separate installer for uv.
Installation on Ubuntu
On Ubuntu, the route is a bit different. Depending on your Ubuntu version and the repositories you use, you can’t simply install uv with apt. The installer provided by the uv developers is therefore a straightforward option.
With curl it works like this:
curl -LsSf https://astral.sh/uv/install.sh | shAlternatively, you can download and run the installation script with wget:
wget -qO- https://astral.sh/uv/install.sh | shAfter that, first check whether uv is available:
uv --versionFrom here on, installing llmfit works exactly like on Arch Linux:
uv tool install -U llmfitIf you just want to try it out without a permanent installation, uvx is available on Ubuntu as well:
uvx llmfitIf you’d rather not use uv, you can download the prebuilt binaries from the llmfit GitHub Releases instead.
Getting rid of llmfit again
If the tool doesn’t convince you after all, the way back is short, but on Arch there’s a catch. The tool itself goes away with
uv tool uninstall llmfitand this tells you whether anything is left over:
uv tool listIf you only tried llmfit with uvx, you never installed anything permanently in the first place. The downloaded packages still sit in uv’s cache, though. You empty it with
uv cache cleanNow for the catch: if you installed uv through the package manager, you’re tempted to simply type
sudo pacman -Rns uvBut pacman only removes its own package. What uv itself created in your home directory is unknown to the package manager, and without uv you can no longer run uv tool uninstall either. So uninstall the tool first and uv second, not the other way around.
These commands show you where the leftovers are:
uv tool dir
uv cache dir
Usually that’s ~/.local/share/uv/tools and ~/.cache/uv. If uv is already gone and llmfit is still around, the only option is to clean up by hand:
rm -r ~/.local/share/uvBe careful here: this also wipes out all tools installed with uv and the Python versions managed by uv, not just llmfit.
On Ubuntu, where uv comes from the install script, there is no uv self uninstall. There, after the uv tool uninstall, you remove the two launcher binaries yourself:
rm ~/.local/bin/uv ~/.local/bin/uvxThe TUI is more than a simple model list
The terminal interface is one of the more interesting parts of llmfit to me. Instead of just printing a list, it lets you move through the results, search, and pull up more information on each model.
Use / to search for a specific model, the arrow keys or j and k to navigate, and h opens the help. With almost 10,000 entries in the list, the search is no luxury.
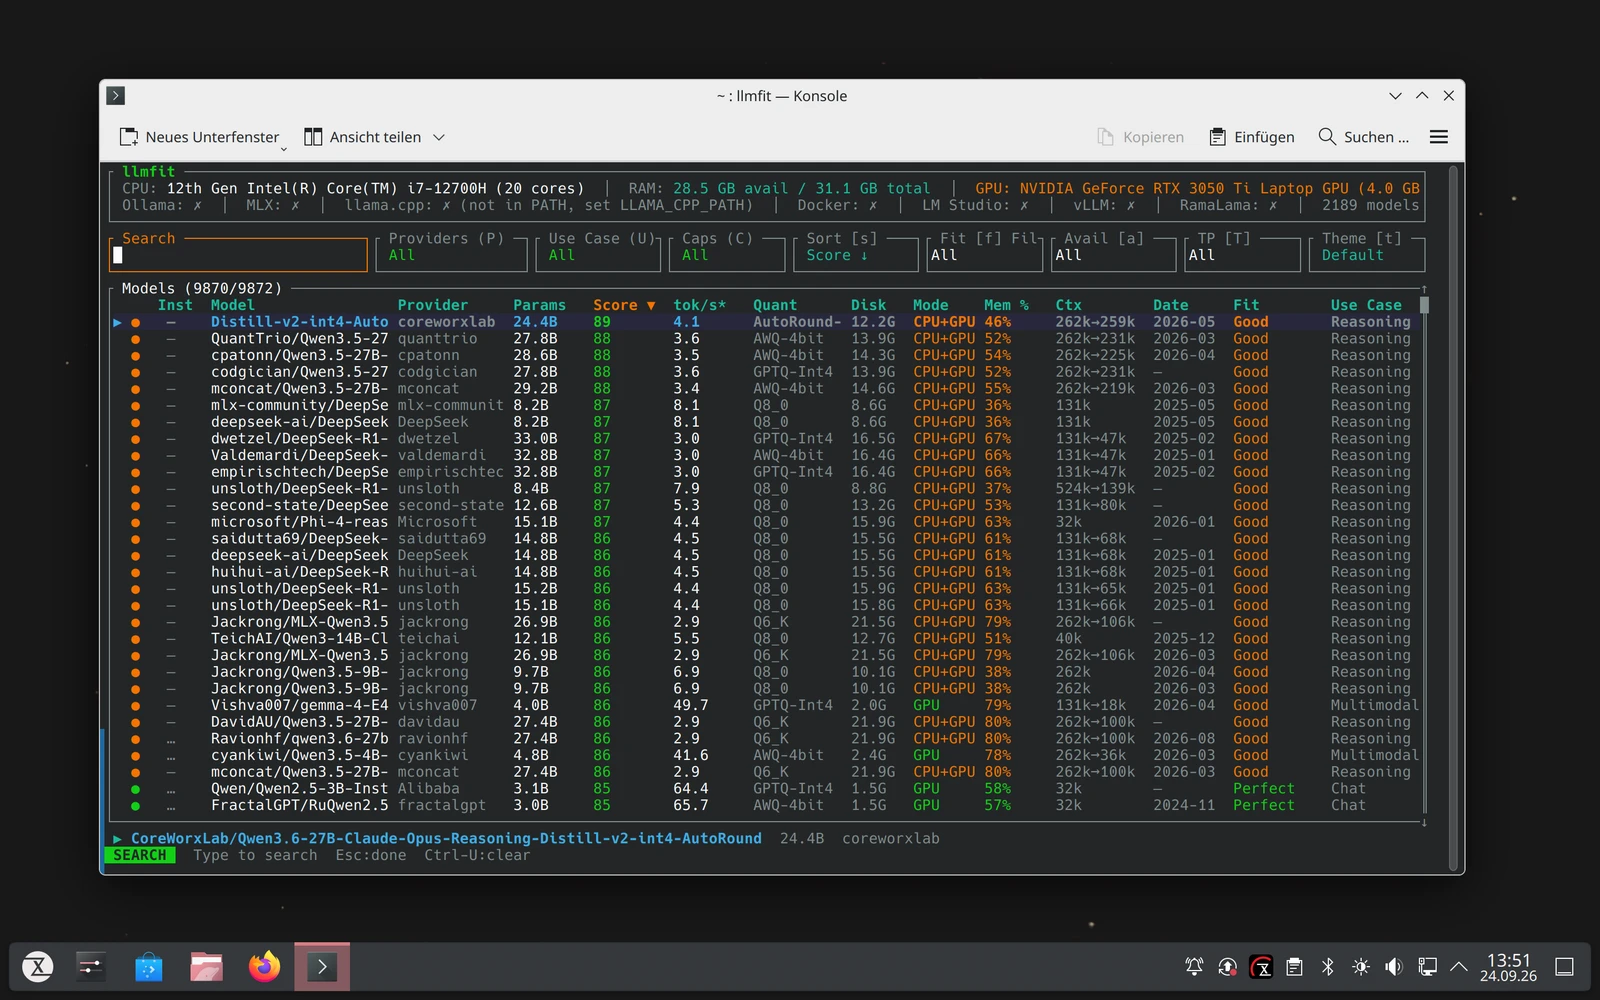
The built-in benchmark features are interesting, too. b brings up community benchmarks, while I starts an inference benchmark on your own hardware. That slowly turns a pure estimate into a measurement with real numbers.
It reminds me a bit of classic system tools. If you use Mission Center on GNOME, for example, you get CPU, RAM, GPU and other resources presented graphically. llmfit, on the other hand, looks specifically at the question of what you can do with those resources in terms of local AI.
Estimates instead of marketing promises
Of course, you shouldn’t mistake llmfit’s numbers for a real benchmark. A theoretical calculation can only estimate how fast a certain model might run on a certain piece of hardware.
The hardware simulation is quite nice in this context. You can tweak RAM, VRAM, and core count just to see how the rating shifts. If you’re toying with the idea of buying more memory or a new graphics card, you at least get a ballpark figure.
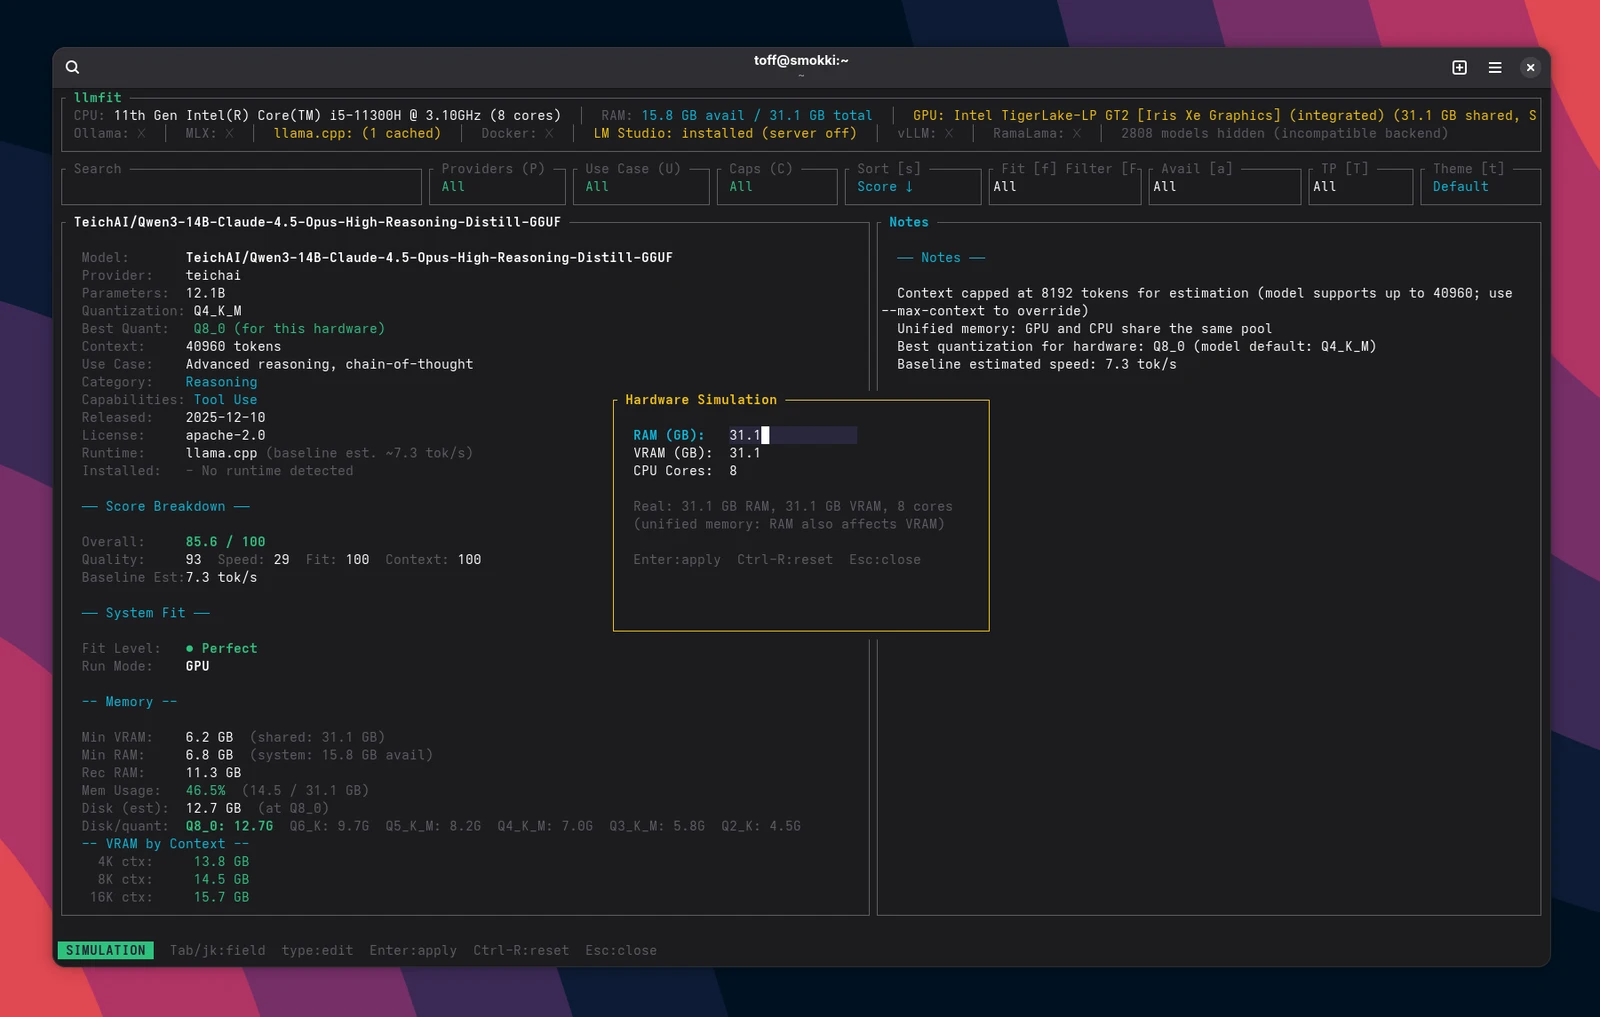
That’s exactly why the benchmarks that are now built in are interesting. llmfit can download a model, start it via a supported runtime provider, and then measure the actual speed on your own hardware. The results are stored locally.
If you like, you can then share your measurements with the community via
llmfit bench --shareThe results are submitted as a GitHub pull request. This way, a database of real measurements slowly builds up, instead of just theoretical calculations.
With local AI in particular, I find this approach sensible. After all, the statement “fits into VRAM” doesn’t tell you much about whether you can actually work with the model in a reasonable way.
Also usable as a command-line tool
If a TUI isn’t your thing, you don’t have to use llmfit interactively. The program works entirely from the command line, too.
For example,
llmfit recommendgives you a recommendation for your hardware. With
llmfit recommend --jsonyou can output the results as JSON. That’s obviously a lot more interesting if you want to build llmfit into your own scripts or other tools.
You can also start a web interface or an API:
llmfit serve --host 0.0.0.0 --port 8787There is also a ready-made image for containers:
ghcr.io/alexsjones/llmfitThat means llmfit runs on a server or in an existing Docker setup, too. If you keep your containers up to date regularly, you may already know the drill from Dockcheck.
And what do you run the model with?
One distinction you should keep in mind: llmfit is not an AI runtime itself. The program helps you choose and evaluate a model, while other tools do the actual inference.
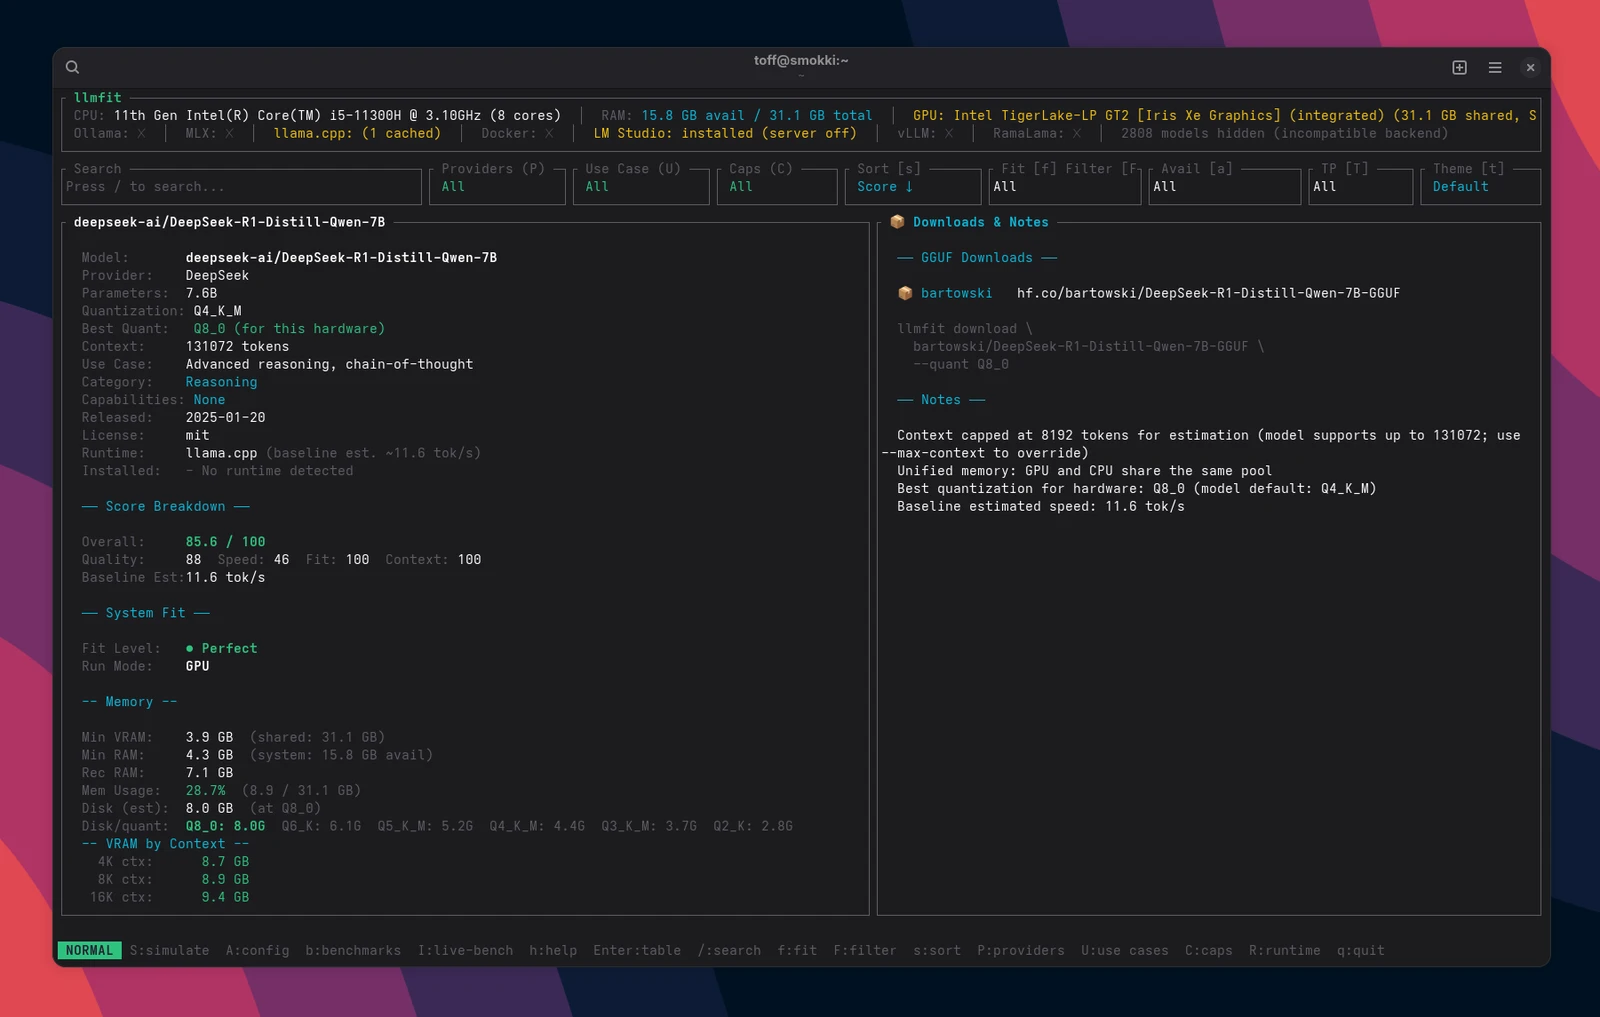
Supported tools include Ollama, llama.cpp, MLX, Docker Model Runner, and LM Studio. That means llmfit can, for example, benchmark a model through an existing Ollama or llama.cpp stack.
On Linux, Ollama is certainly one of the easier ways to get local models up and running. If you want more control over the inference itself, you quickly end up with llama.cpp. The two projects take somewhat different approaches, but both combine well with llmfit’s hardware check.
Interesting for local AI
To me, llmfit closes a gap between “I’d like to try local AI” and “I first have to work my way through the hardware requirements of dozens of models.” That’s far more helpful than a generic list of the “best” local models. In the end, what matters isn’t which model scores well on some test system, but which one runs properly on your hardware for your use case.
Of course, the estimates don’t replace your own testing. That’s exactly what the built-in benchmarks are for, and they’re what I want to tackle next: my own measurements on different machines, and then a comparison of how well llmfit’s predictions match reality.
The tool should be especially interesting for developers. If you want to use a local AI assistant for programming, you first find out which models fit your hardware, and then experiment with the speeds you can actually reach.
You’ll find more information, the current documentation, and the source code on GitHub.

Leave a Reply