
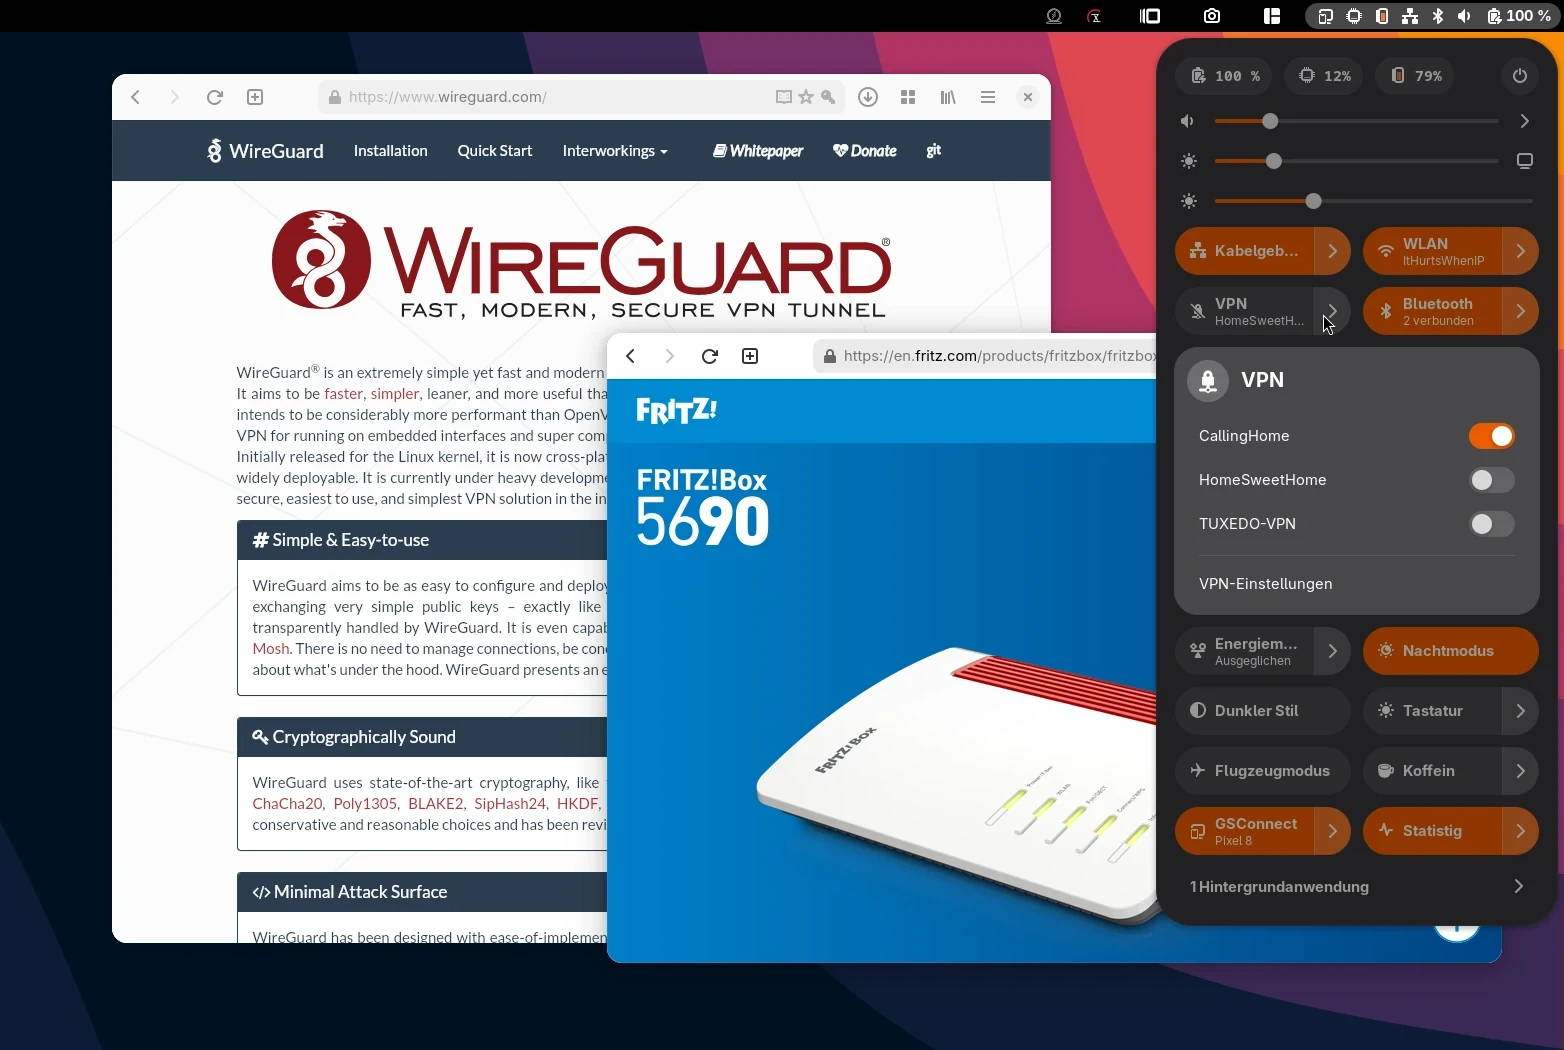
Now that a new Fritzbox 5690 Pro is sitting in my hallway, I can finally try out the (not really so) new WireGuard VPN of the Fritzbox. The VPN protocol itself isn’t new to me, since you can easily set it up with wg-easy and similar tools. Still, I find it handy when a feature like this is built right into the router and doesn’t have to run on a separate server.
That way, access to your own network stays possible even on the day the server doesn’t work the way it should. If something is wrong with the box itself and the internet connection drops out completely, everything is usually lost anyway. On top of that, you need neither port forwarding nor an extra DynDNS service in this case, because AVM takes care of that with its MyFritz service.
Setting up WireGuard on the Fritzbox
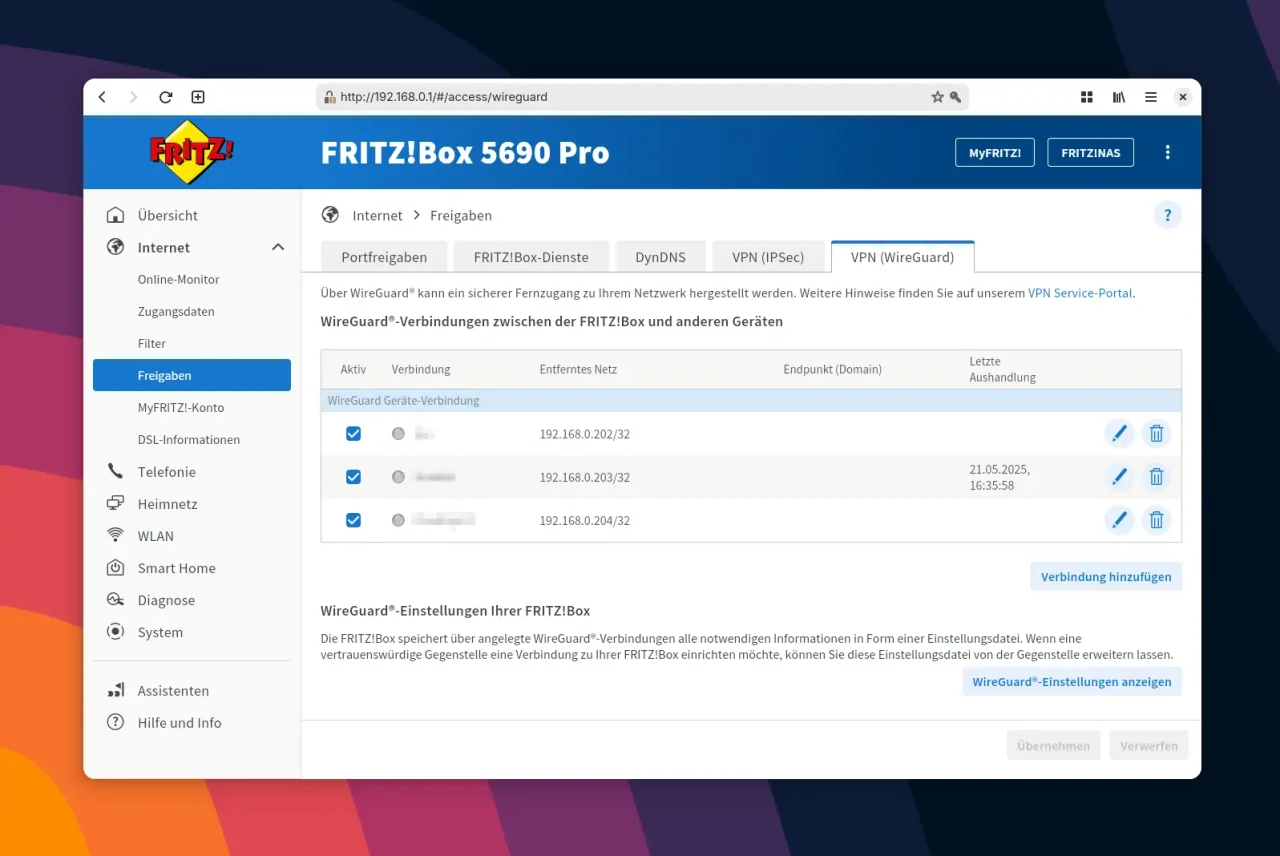
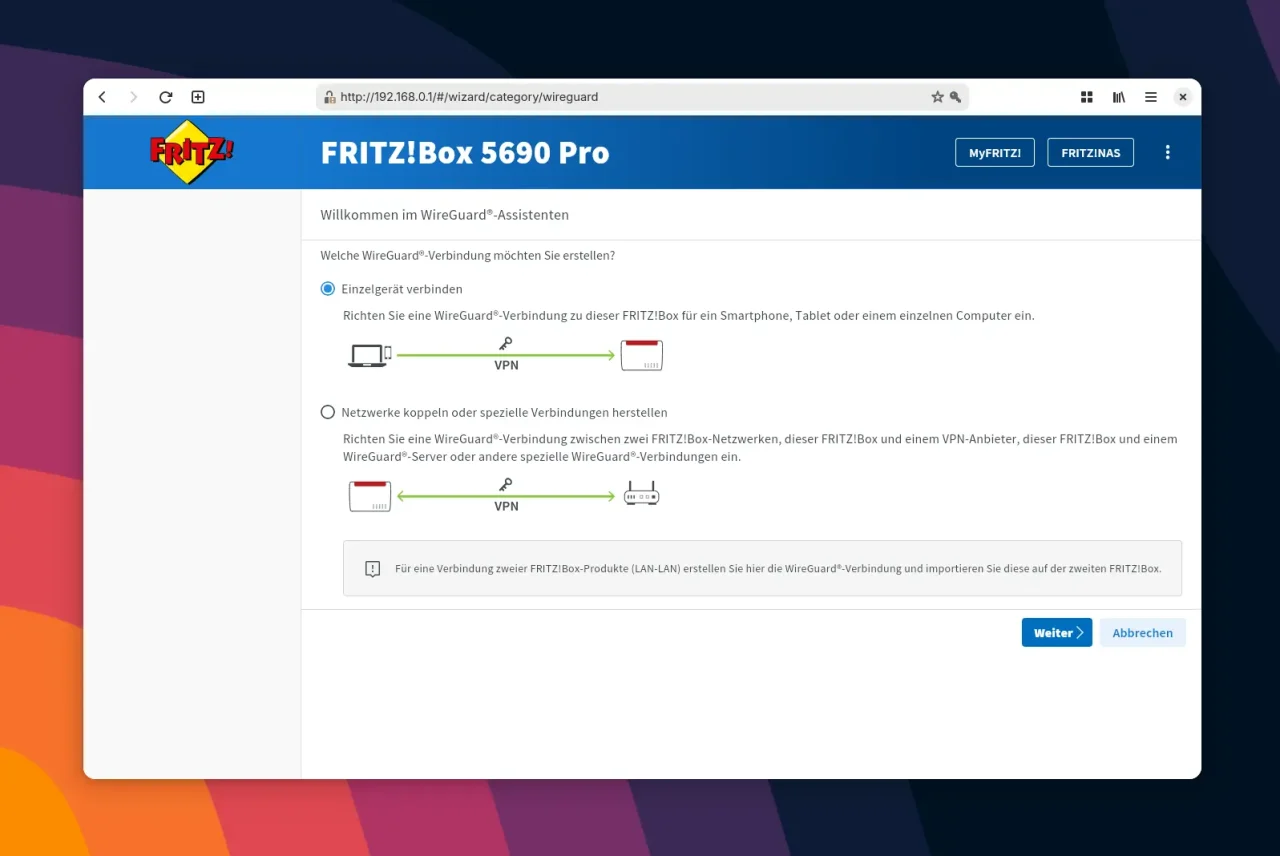
You set this up in the Fritzbox under Internet » Permit Access (Freigaben) on the VPN (WireGuard) tab. Click Add Connection and then choose Connect single device. You can name the connection whatever you like. Usually it’s the name of the client machine or of the person who will use the VPN. At the end, you have to confirm the new connection, for example by phone, by pressing a button on the box, or in the Fritz app.
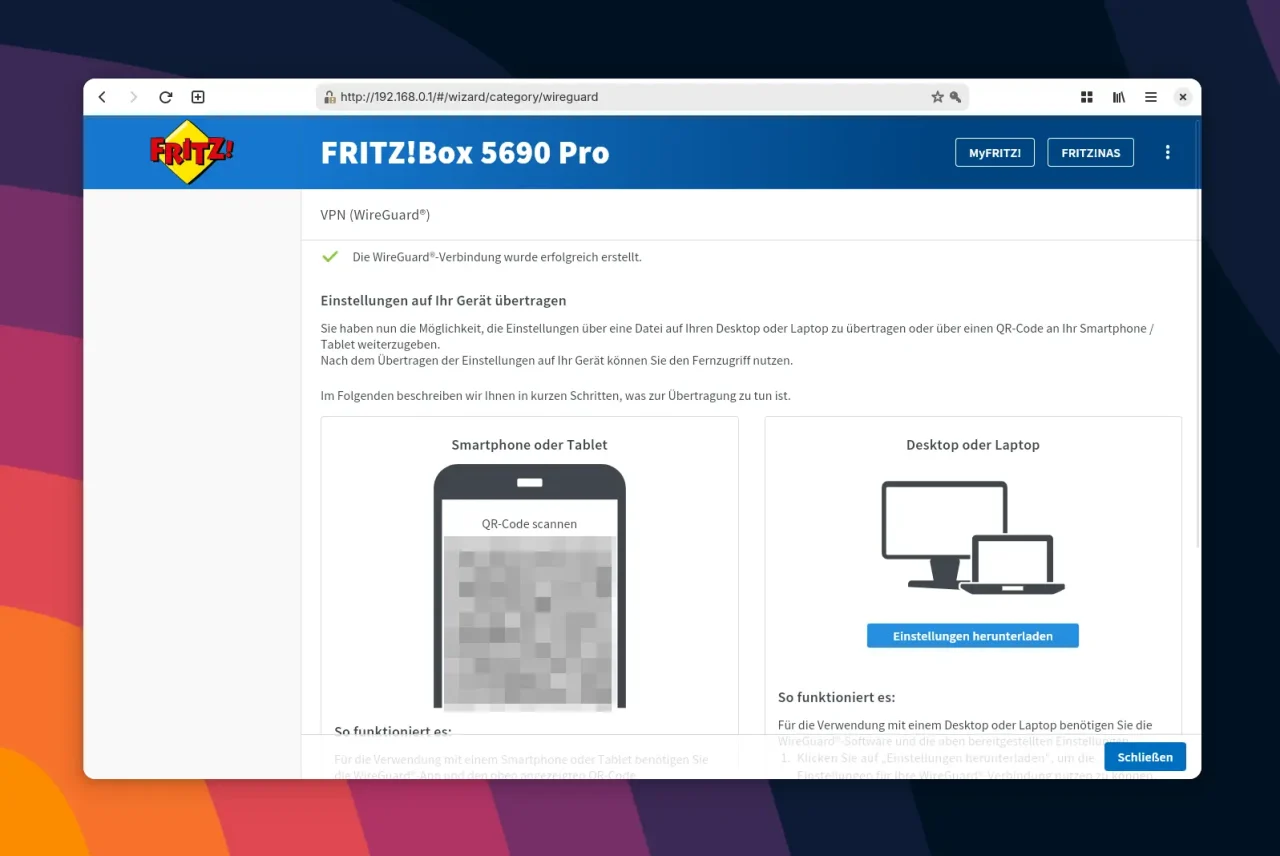
The Fritzbox then shows you a page with a QR code. Scan it with your smartphone to import the connection straight into the official WireGuard app for Android. Alternatively, you can use the open-source app WG Tunnel, which offers a lot more features than the “official” WireGuard client for Android. Personally, I use WG Tunnel, which I installed via F-Droid.
WireGuard configuration in NetworkManager
For Linux (and desktop PCs in general), the Fritzbox lets you download the configuration. Click the button and save the file to your hard drive. By default, the file is saved as wg_config.conf in the Downloads folder. The name matters a bit, because some WireGuard clients automatically use it to name the interface.
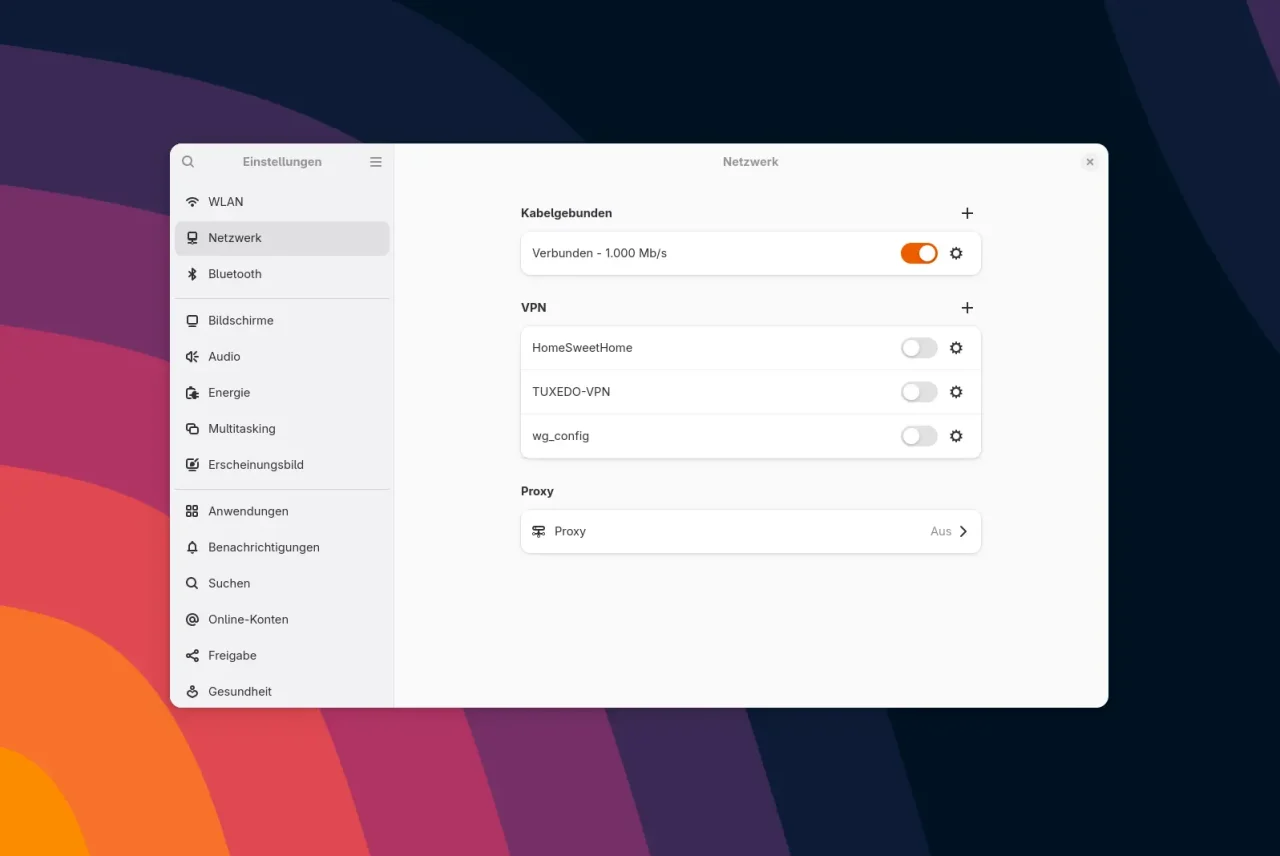
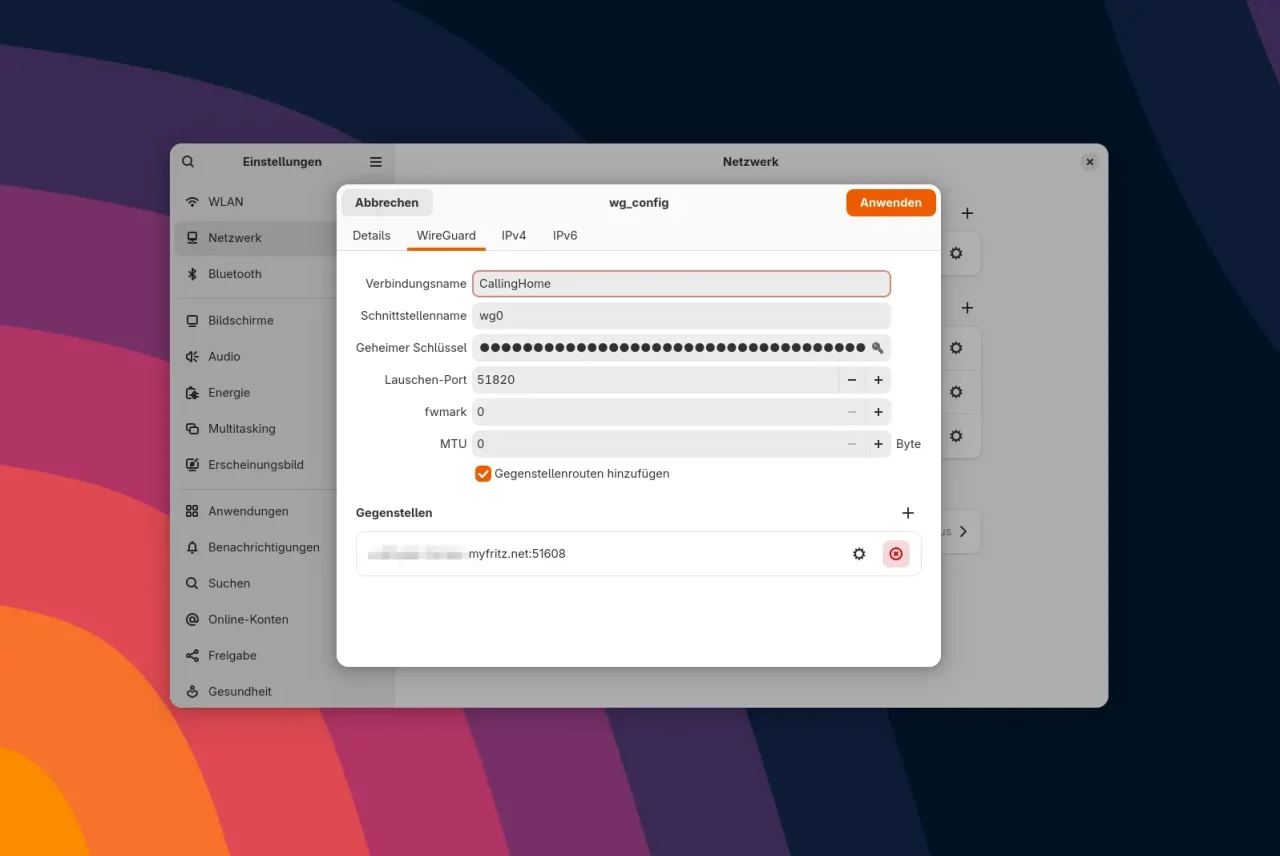
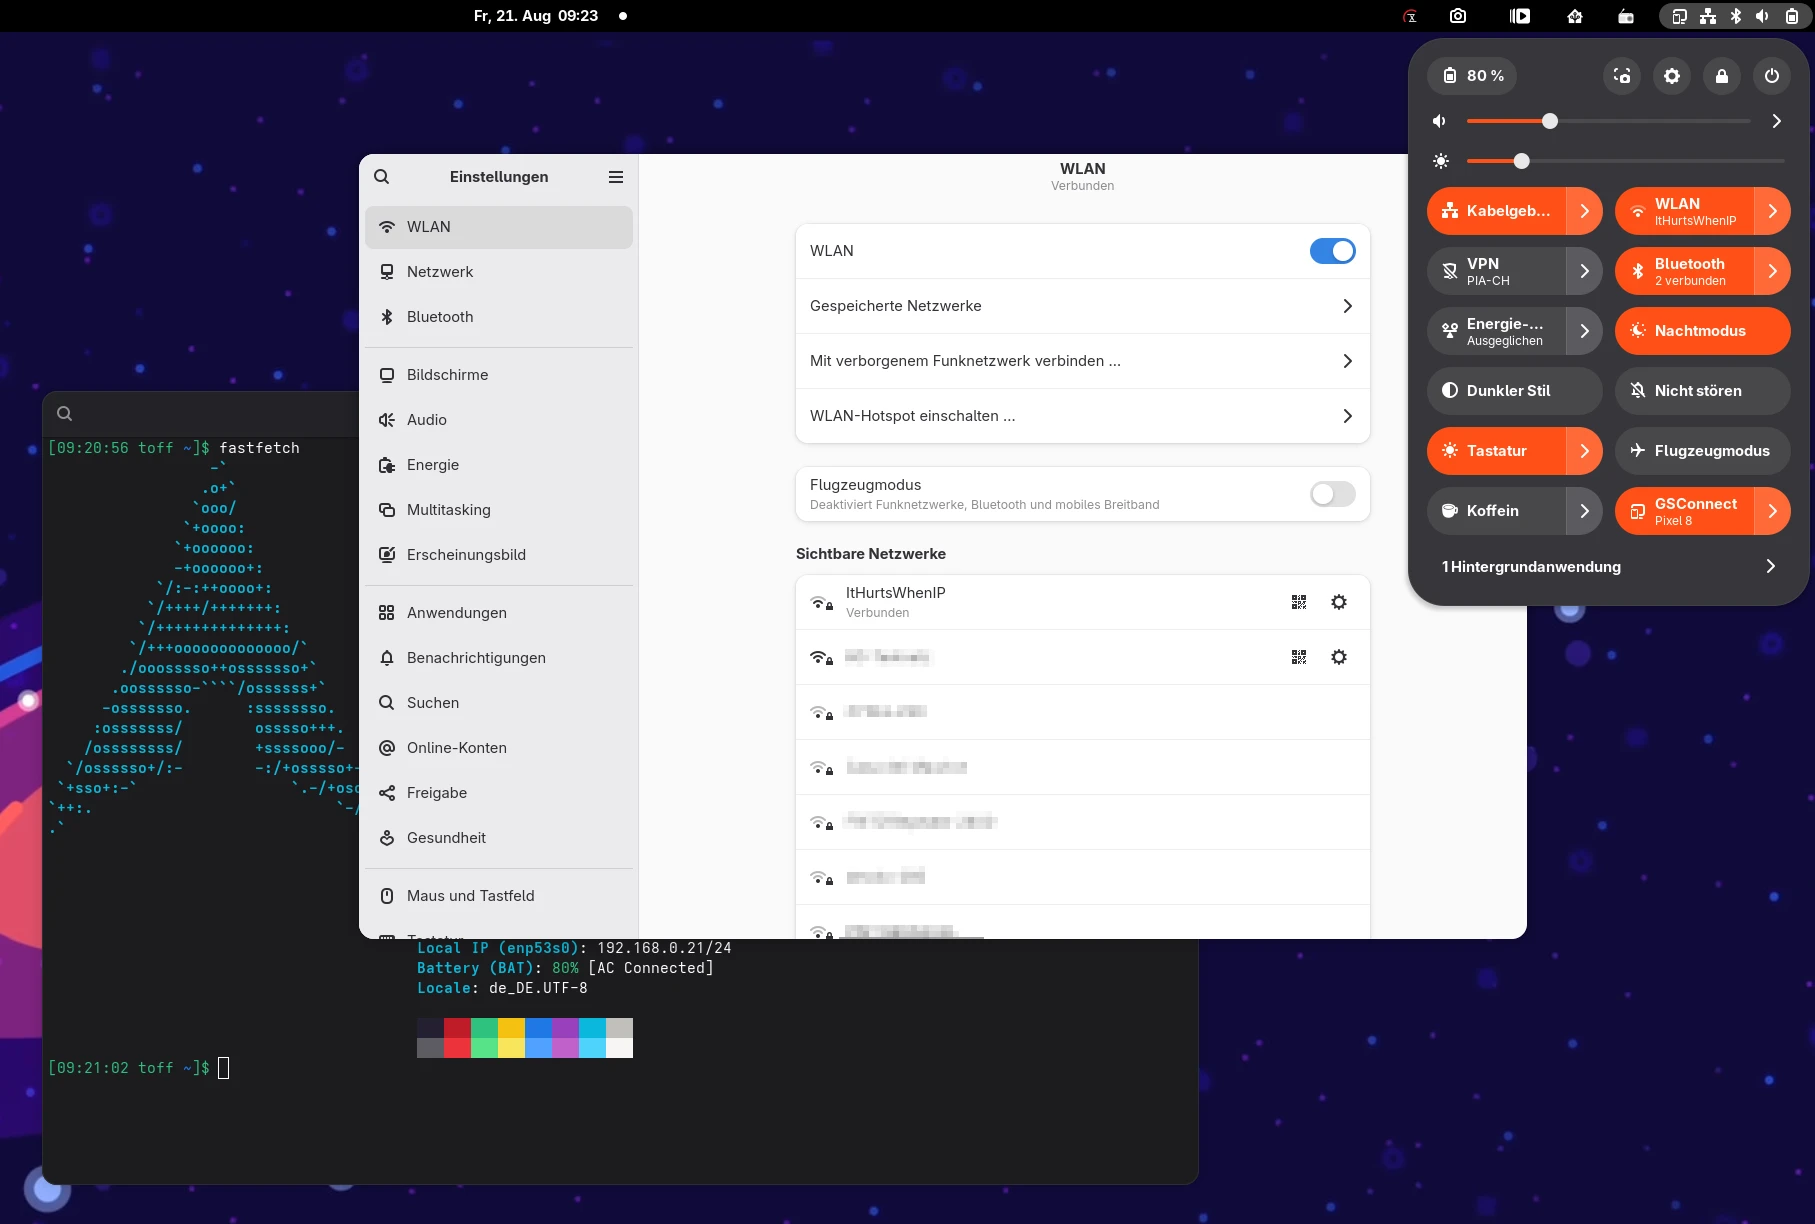
You can import it directly through NetworkManager on the desktop or from the command line. On GNOME, open Settings, go to Network, click the plus icon and choose Import from file … [CHECK: label]. Then select the file wg_config.conf and import it. You can rename the connection however you like in the settings afterwards, but I recommend setting the interface name to wg0.
$ <strong>nmcli connection import type wireguard file ~/Downloads/wg_config.conf</strong>
Verbindung »wg_config« (39724859-b102-4446-bdb2-1ec60f501360) erfolgreich hinzugefügt.
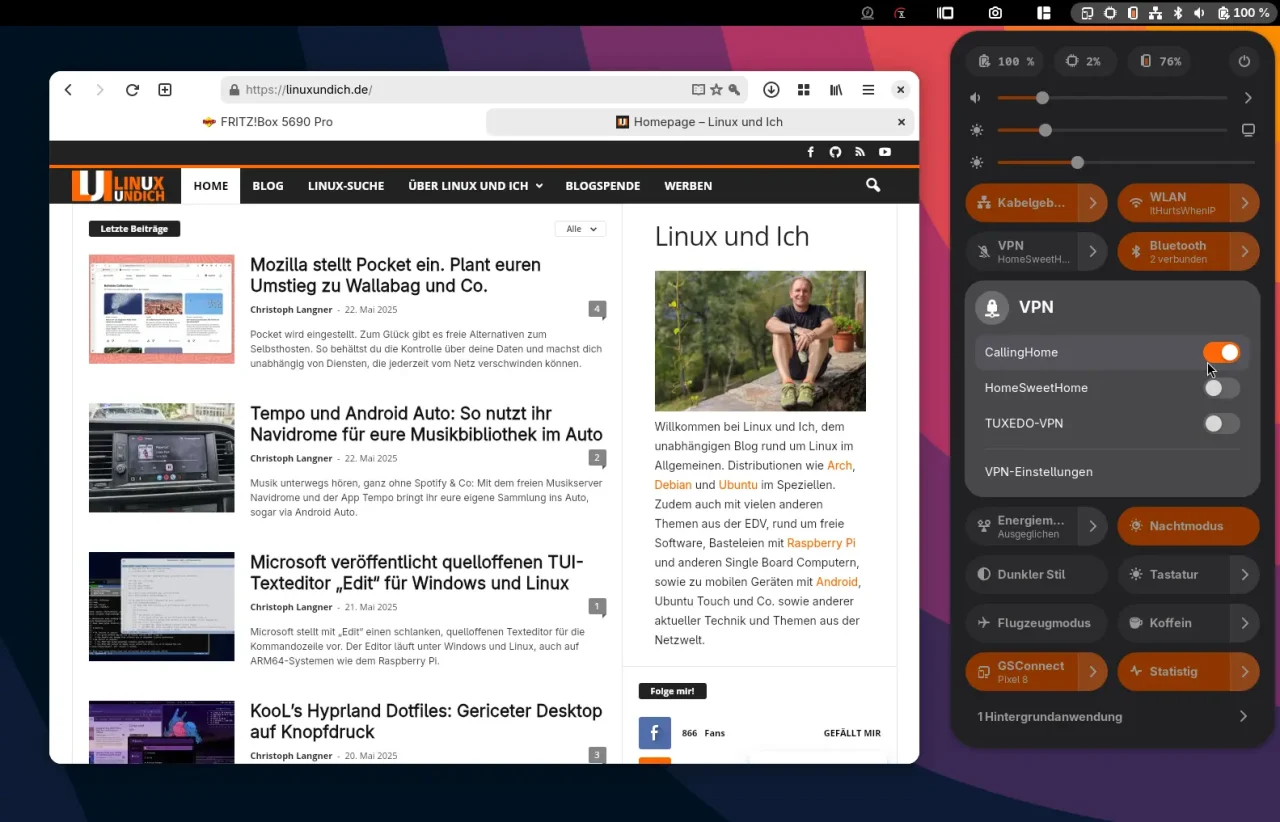
That’s it. You can now activate the VPN directly from the Quick Settings in GNOME. Other desktop environments like KDE offer similar options as well. If you want to check whether the connection is up, install the IP Finder extension on GNOME. It shows you your public IP address along with a country flag. As soon as the flag of your home country shows up instead of the one for where you currently are (for example, abroad on vacation), the VPN is up and running.

Leave a Reply