
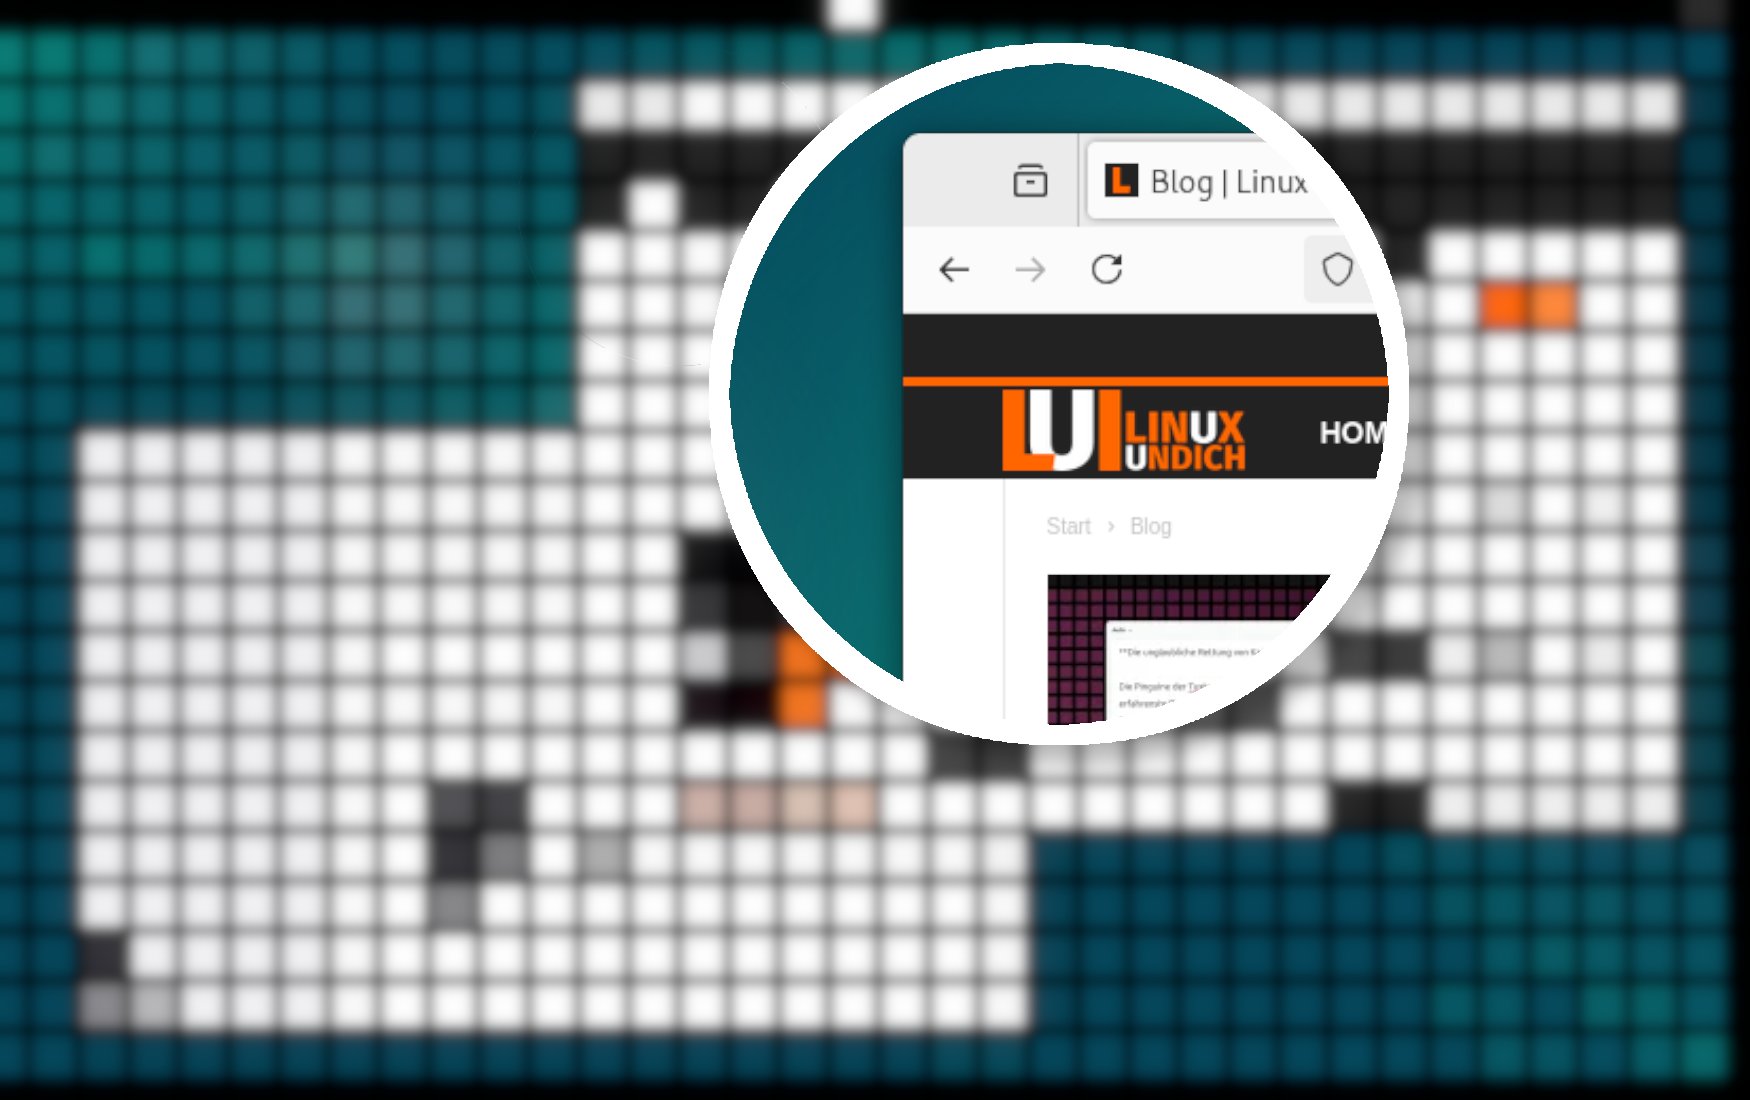
When I write articles regularly or share content on platforms, taking screenshots is an essential part of my work. Desktop environments like KDE and GNOME already ship with good screenshot tools. KDE has the very solid Spectacle, for example, and GNOME offers a basic solution with its screenshot tool. Still, I often miss features for editing a shot afterward. Especially when I want to add notes, arrows or highlights, I can’t avoid reaching for additional tools or an image editor like GIMP.
I used to use Shutter for this. Unfortunately, it has since lost its Wayland support and hasn’t seen any development for quite some time. As my current alternative, I use KSnip to add notes and markings, even if that means pulling a pile of Qt libraries onto my system. What I’m still missing, though, is a magnifier effect that lets me enlarge small details in my screenshots and call them out.
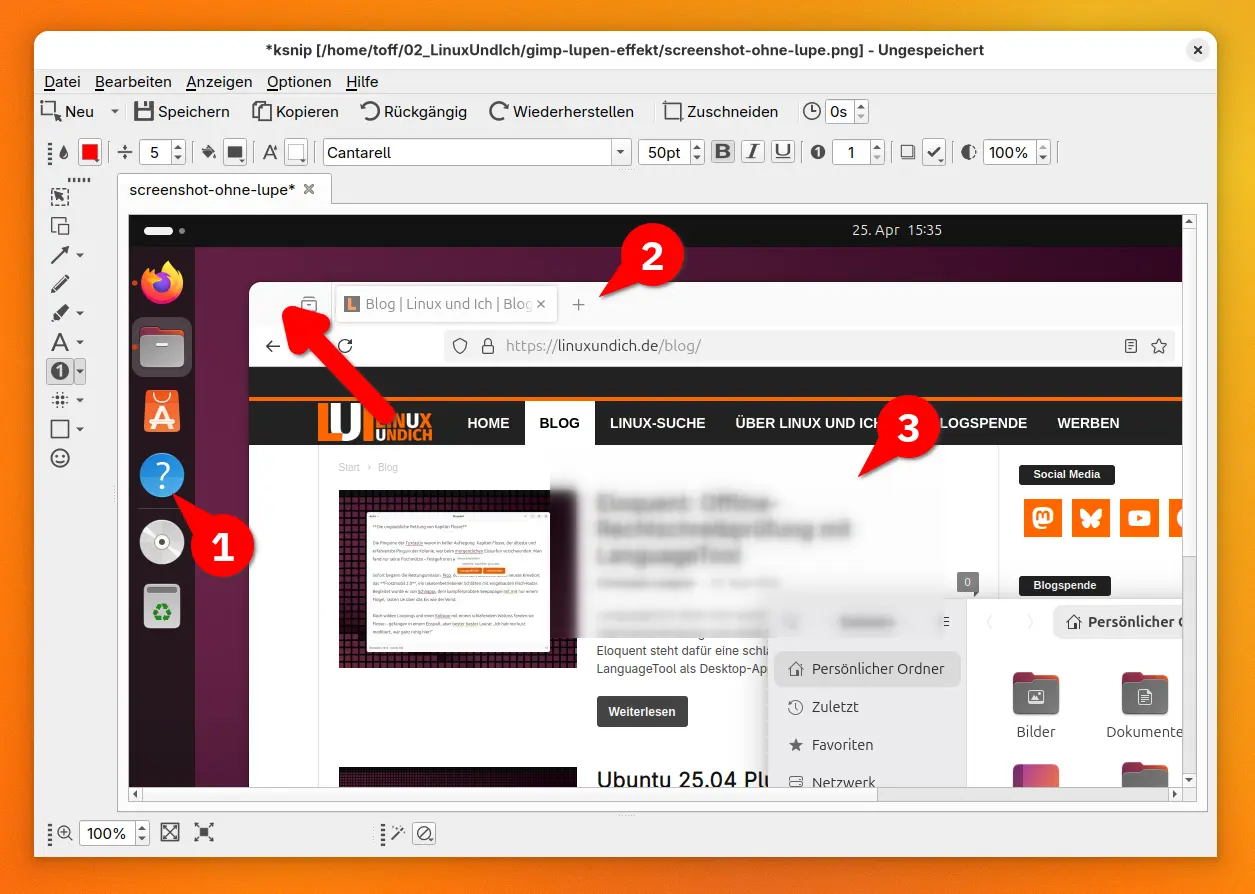
You can do this effect quickly and easily in GIMP, though, even if there is no dedicated filter for it. In this guide, I’ll show you how to create a magnifier effect on your screenshots in just a few minutes.
Step-by-step guide to the magnifier effect in GIMP
Open the screenshot
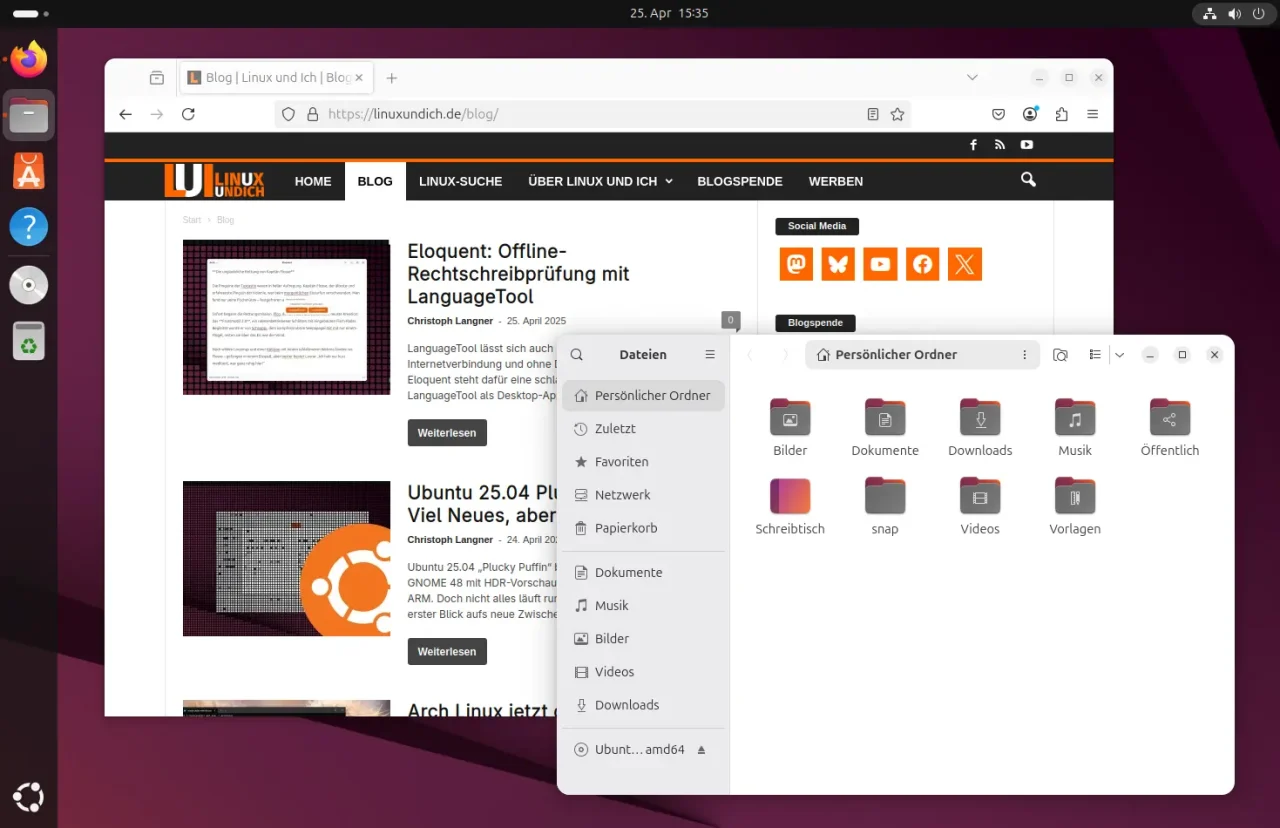
First, open your screenshot in GIMP. If you haven’t taken a screenshot yet, you can do that right in GIMP: in the menu, choose File » Create » Screenshot. There you can either capture the screenshot directly in the program or import an earlier one.
Select the area
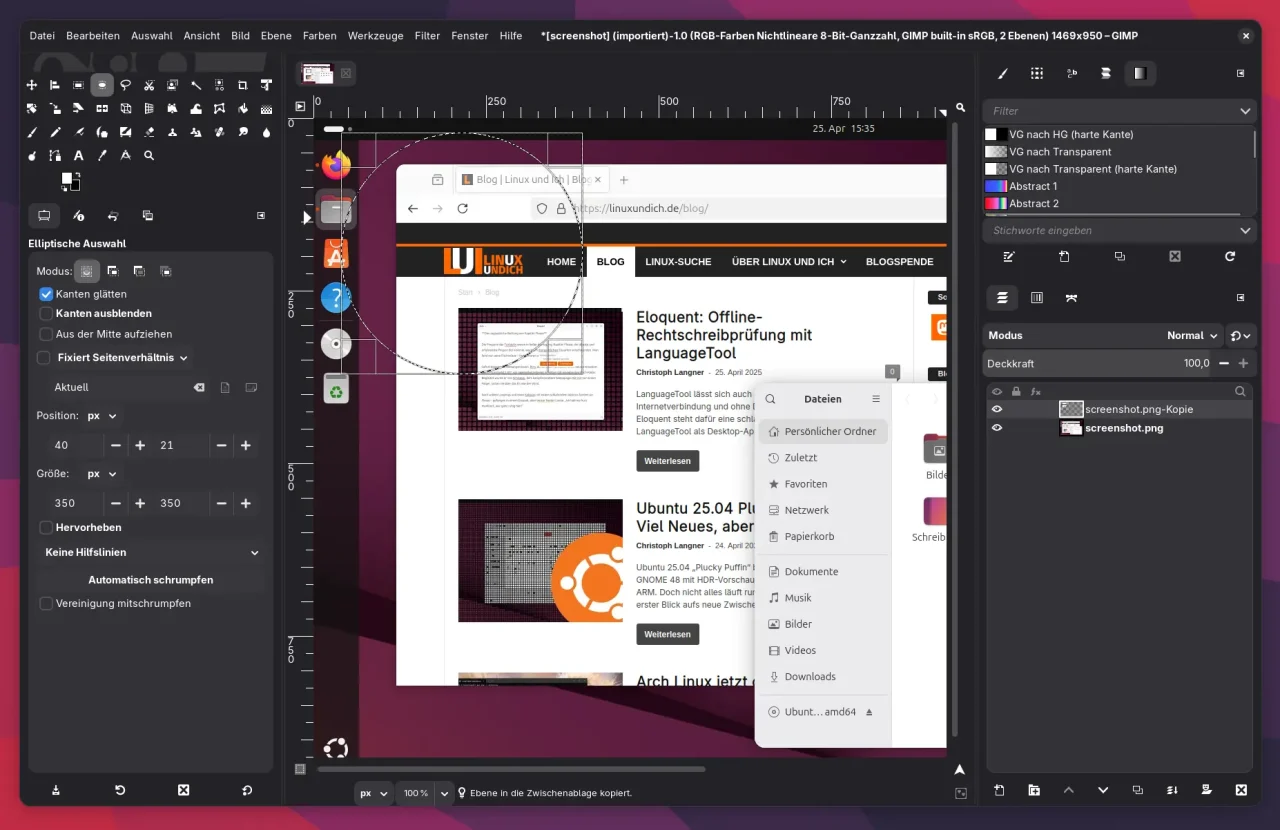
Now pick the Rectangle Select tool or the Ellipse Select tool from the toolbox on the left. Drag the selection around the area you want to enlarge, that is, the area you later want to highlight with the magnifier effect. To create a circular selection with the ellipse tool, hold down the Shift key while dragging with the mouse.
Once the selection is made, press Ctrl+C on the keyboard to copy the area. Then press Ctrl+V to paste it as a new floating selection. This new selection shows up in the upper right area of GIMP as Floating Selection. Right-click it and choose To New Layer to turn the floating selection into a regular layer named Transformation.
Enlarge the selection
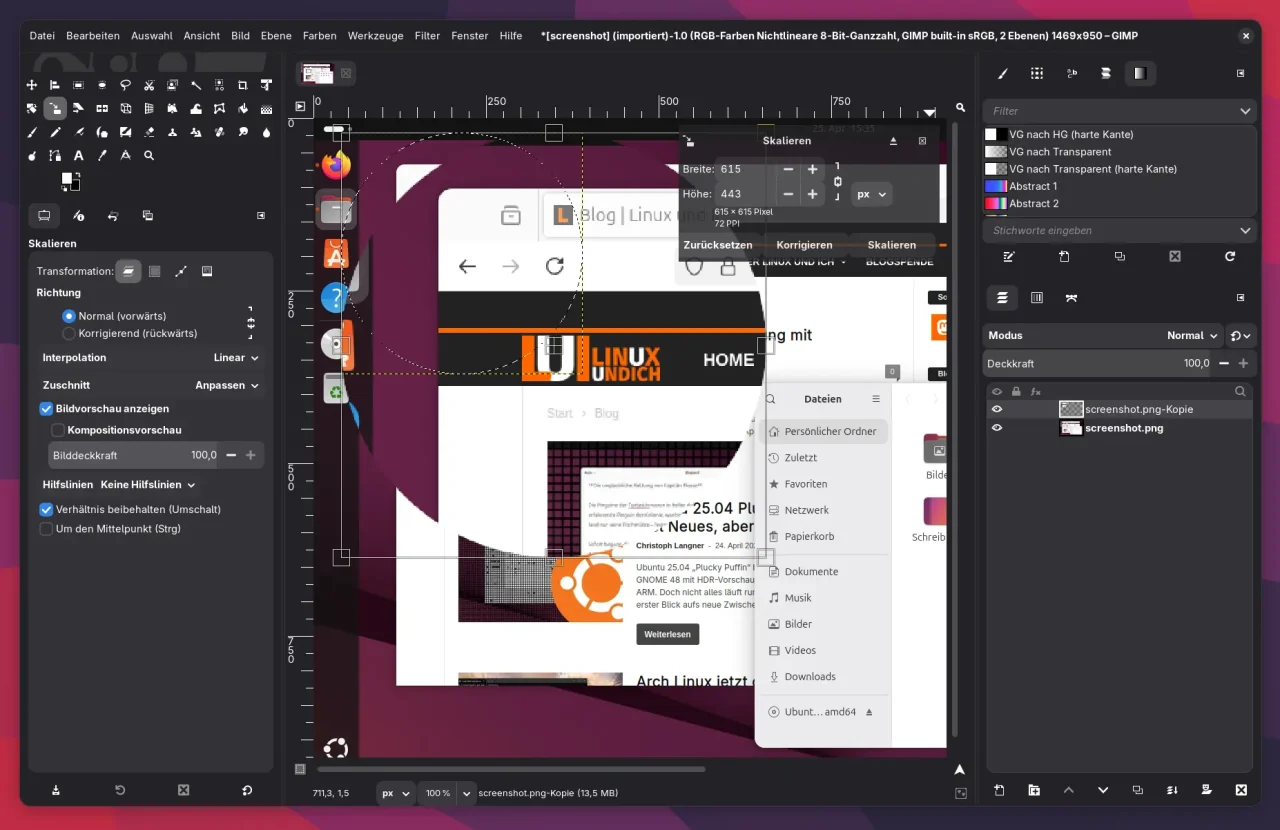
Now comes the actual magnifier effect: choose the Scale tool from the toolbox on the left and click the new layer you just created. Enlarge it until it gives you the “magnifying glass” look you want. Make sure to lock the aspect ratio so the proportions of the selection stay intact.
Fit the layer to the image size
Right-click the new layer in the right panel and choose Layer to Image Size. This fits the layer to the overall image size without changing any of the other elements in the screenshot.
Add a selection around the effect
Right-click the layer in the right panel again, and this time choose Alpha to Selection. This makes the non-transparent area of the layer selectable.
Add an outline
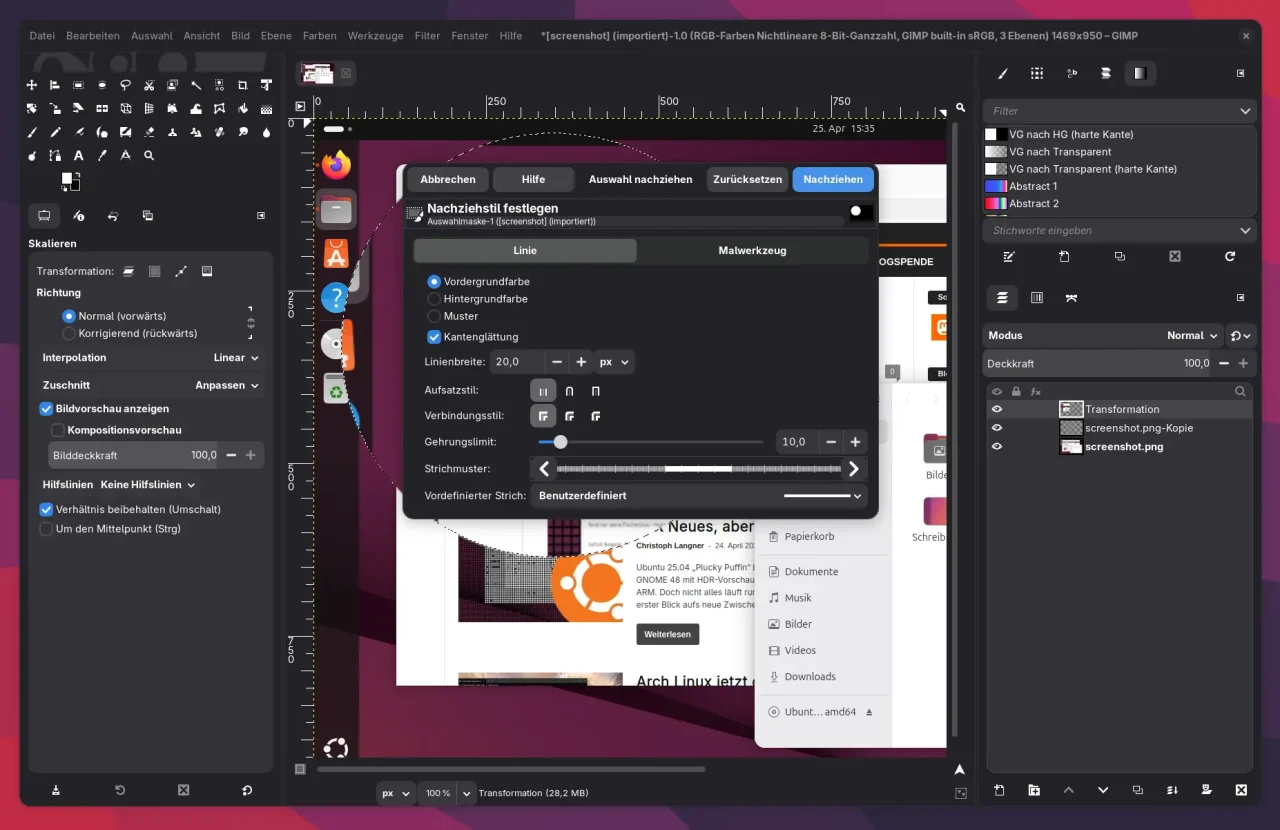
Now go to Edit » Stroke Selection … and adjust the properties of the outline. Here you can pick the color and the thickness of the line. The default color is taken from GIMP’s foreground color. Unfortunately, there is no preview for this function. Click OK to apply the outline.
Adjust the background
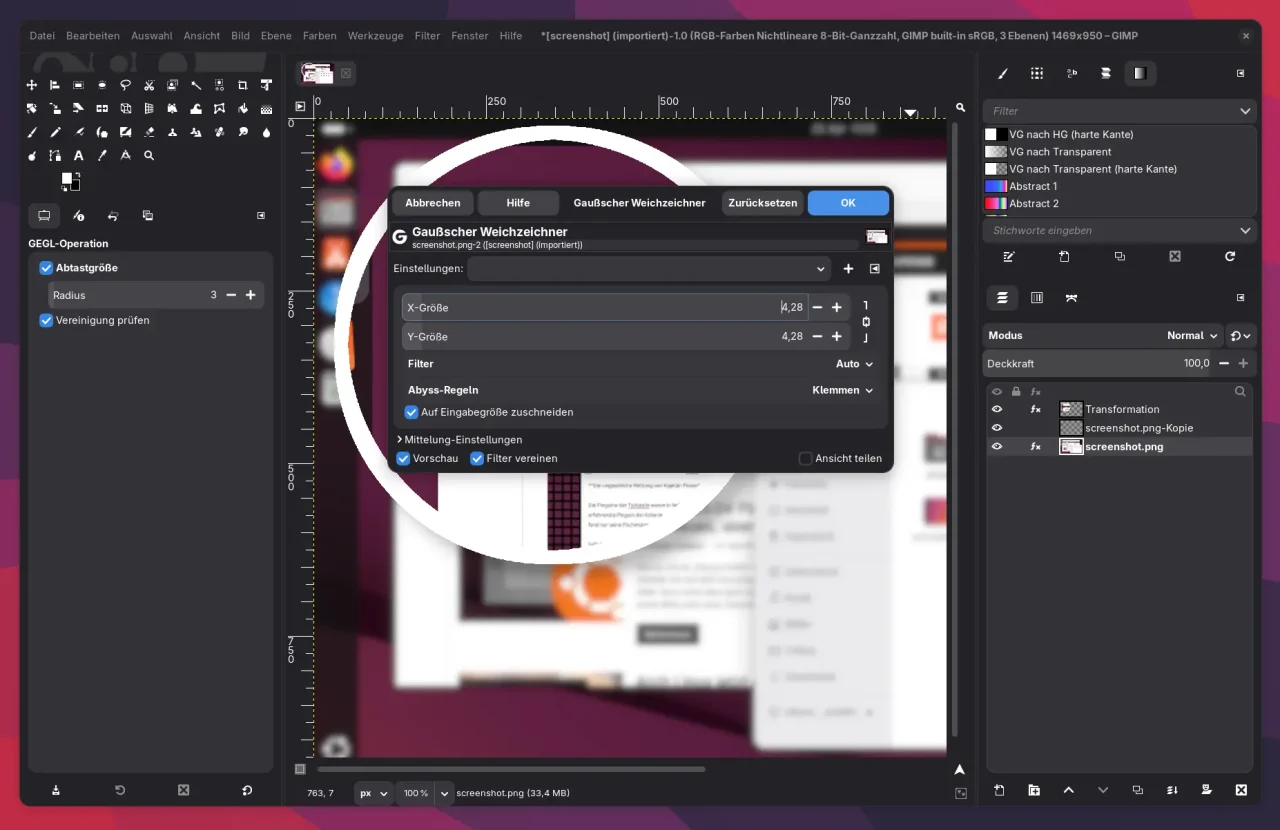
Last but not least, you can apply a filter to the background to strengthen the effect further. A blur or a shadow on the new layer helps the magnifier effect come into its own. To do that, pick Filters and try out different options, such as Blur or Drop Shadow.
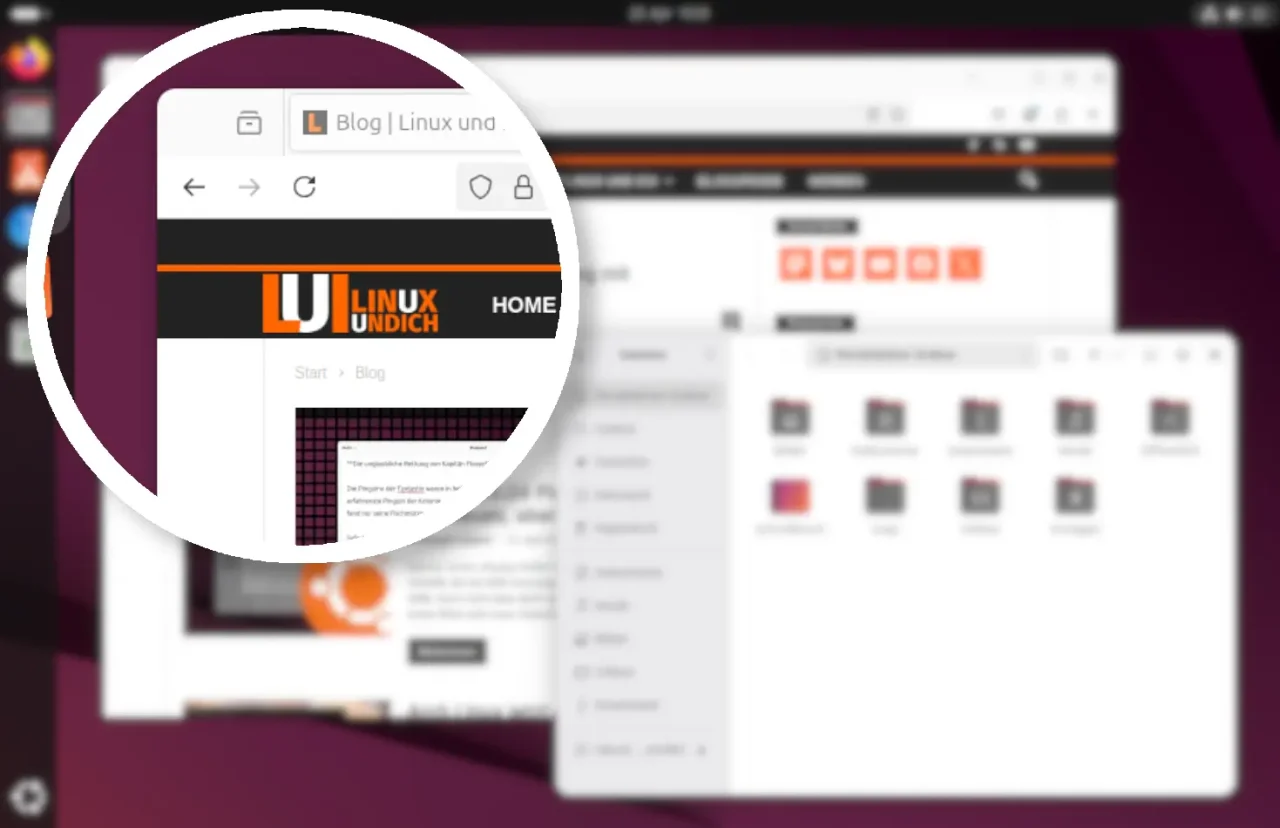
With these simple steps, you’ve created an effective magnifier effect in GIMP. It takes a bit of practice and fine-tuning, but after a few tries you’ll get a good feel for the tools and can work them efficiently into your screenshot editing. Especially handy: you can use the method on any part of an image, to highlight not just text but any other detail in your screenshots.
Leave a Reply