
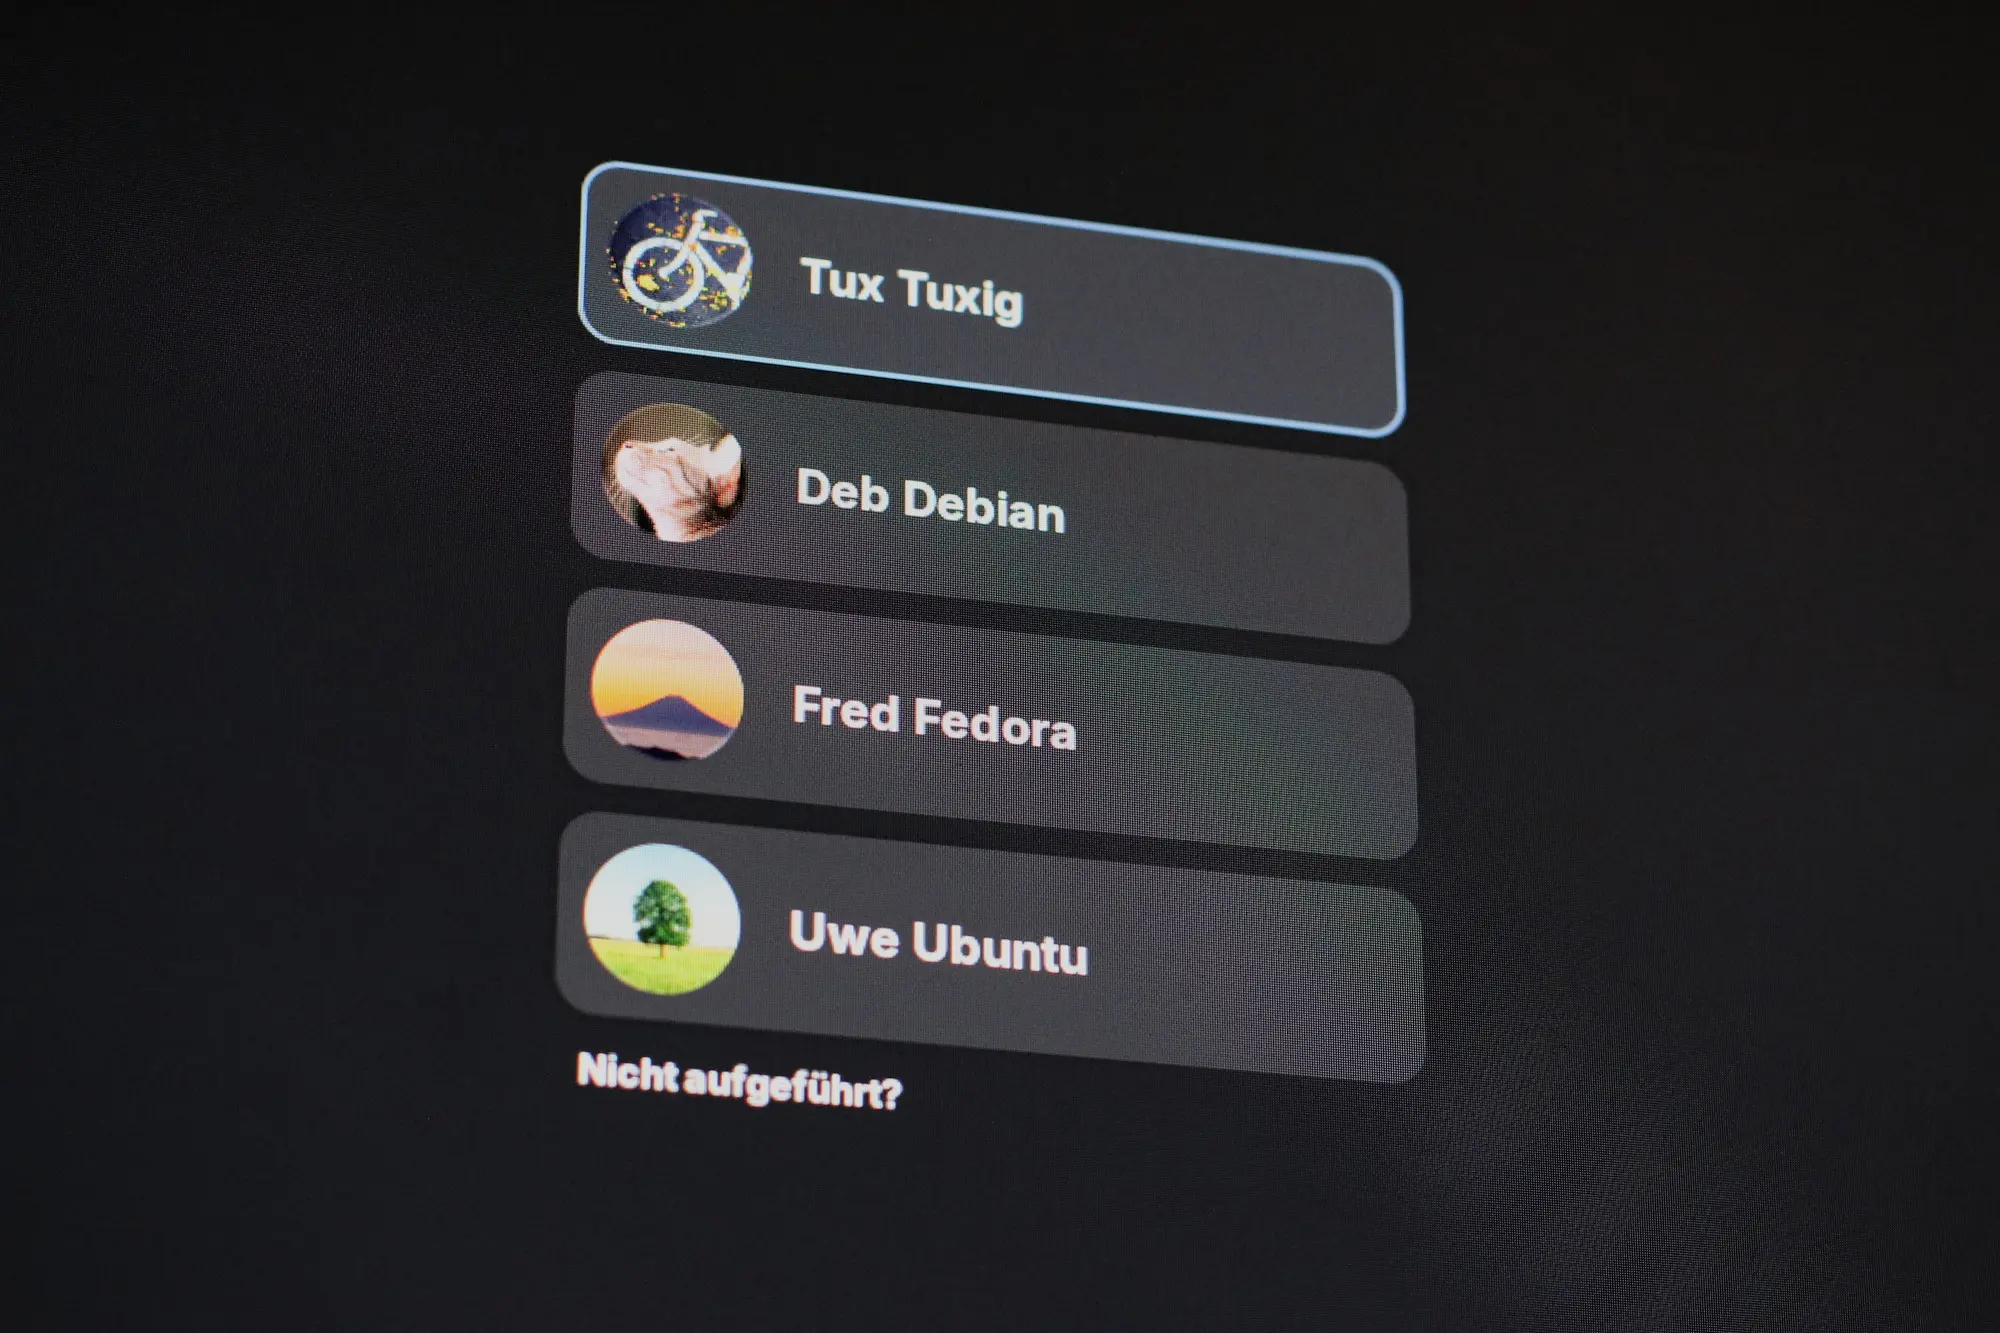
When I connect my laptop to an external monitor and set it as the primary display, this usually works without a hitch under GNOME. The desktop remembers the monitor selection, and the next time I boot, everything is set up the way I want it. What has bugged me for a long time, though: the login screen regularly shows up on the wrong monitor, so not where I would expect it. Even when I have defined the external screen as the main display in the display settings, GDM completely ignores that.
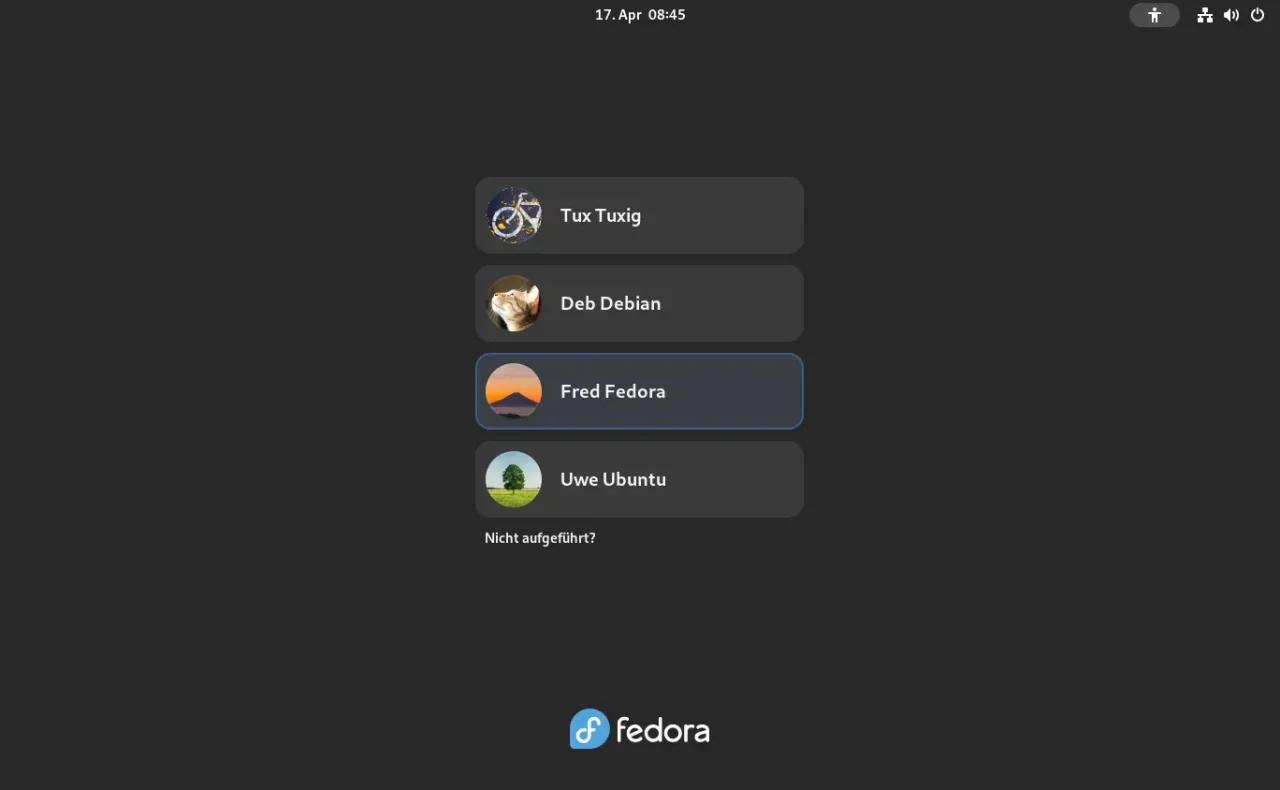
It gets especially annoying when the monitor GDM uses for the login isn’t even turned on. Then the screen stays black and I’m fumbling around in the dark until I open the laptop lid or figure out which monitor is the right one. Apparently GDM uses its own configuration, which has nothing to do with the display settings of the GNOME session. In the Arch Linux wiki I came across a solution that fixes this behavior reliably, and it works on other distributions as well.
Why GDM uses the wrong monitor
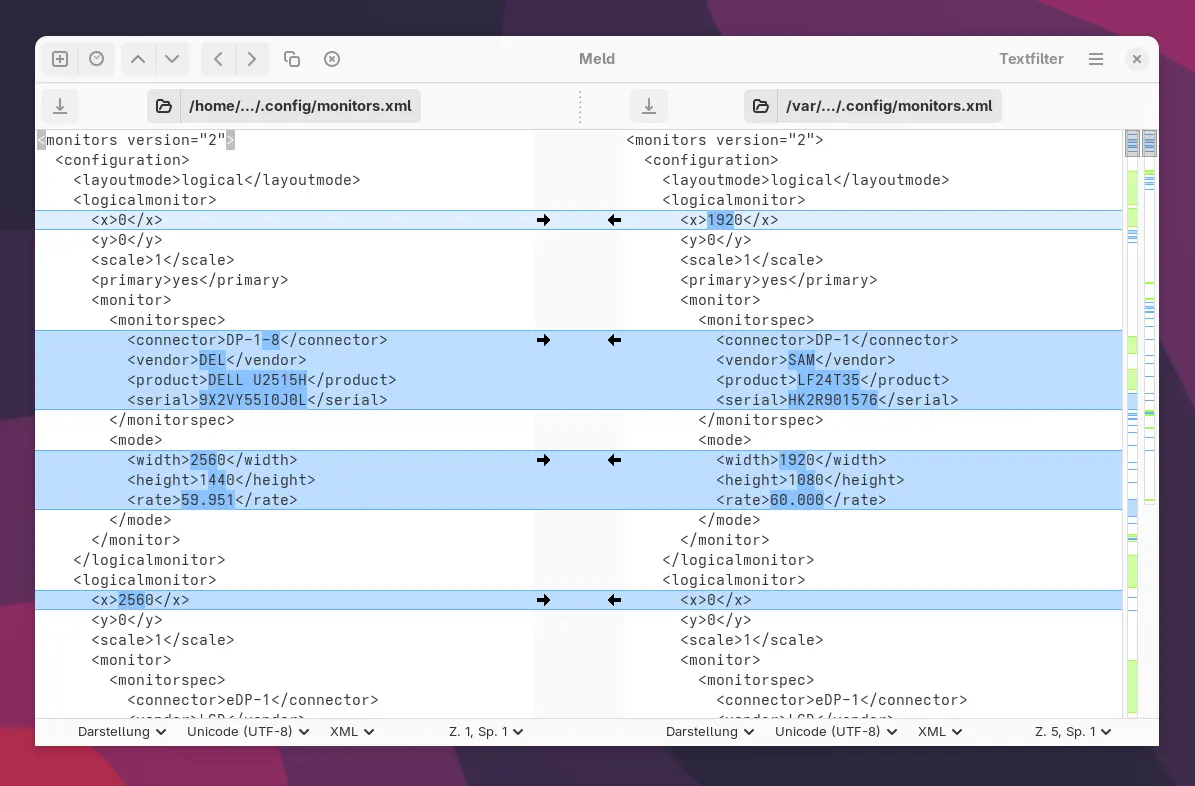
The problem typically shows up on systems with multiple screens, especially when proprietary graphics drivers such as Nvidia’s are in use. GNOME stores the screen layout per user in a file called monitors.xml in the directory ~/.config. GDM, on the other hand, uses its own configuration in the context of the gdm user. Since this file is not automatically synced with the one of your main user when the system is set up, the login screen can end up on the wrong screen, and stay there.
Manual solution: copy your display settings
The easiest way to teach GDM the right monitor configuration is to copy the monitors.xml file from your home directory to the GDM configuration directory.
- First, set up the screen configuration you want in GNOME. Open the display settings via:
$ <strong>gnome-control-center display</strong>Pick your preferred main screen and arrange the monitors as you like. The changes are saved automatically in your home directory under ~/.config/monitors.xml.
- Copy the file to the GDM home directory:
$ <strong>sudo install -o root -m 644 ~/.config/monitors.xml ~gdm/.config/</strong>The system correctly interprets the home directory of the GDM user ~gdm here.
- Restart GDM so the new configuration is picked up. Careful: this ends your current GNOME session without warning:
$ <strong>sudo systemctl restart gdm</strong>After the restart, the login screen should show up on the monitor you want.
Automated solution: with a systemd service
If you often work with different monitor setups or simply prefer a permanent solution, you can automate copying the file at boot.
- Create the directory for the systemd override:
$ <strong>sudo mkdir -p /etc/systemd/system/gdm.service.d</strong>- Create a new configuration file
override.confwith the following content:
[Service]
ExecStartPre=/bin/sh -c 'install -o root -m 644 /home/EUER_NUTZER/.config/monitors.xml ~gdm/.config/monitors.xml || true'
Replace EUER_NUTZER with your actual user name.
- Reload the systemd configuration:
$ <strong>sudo systemctl daemon-reexec</strong>The next time GDM starts, the file is picked up automatically.
Even easier: with the graphical GDM Settings
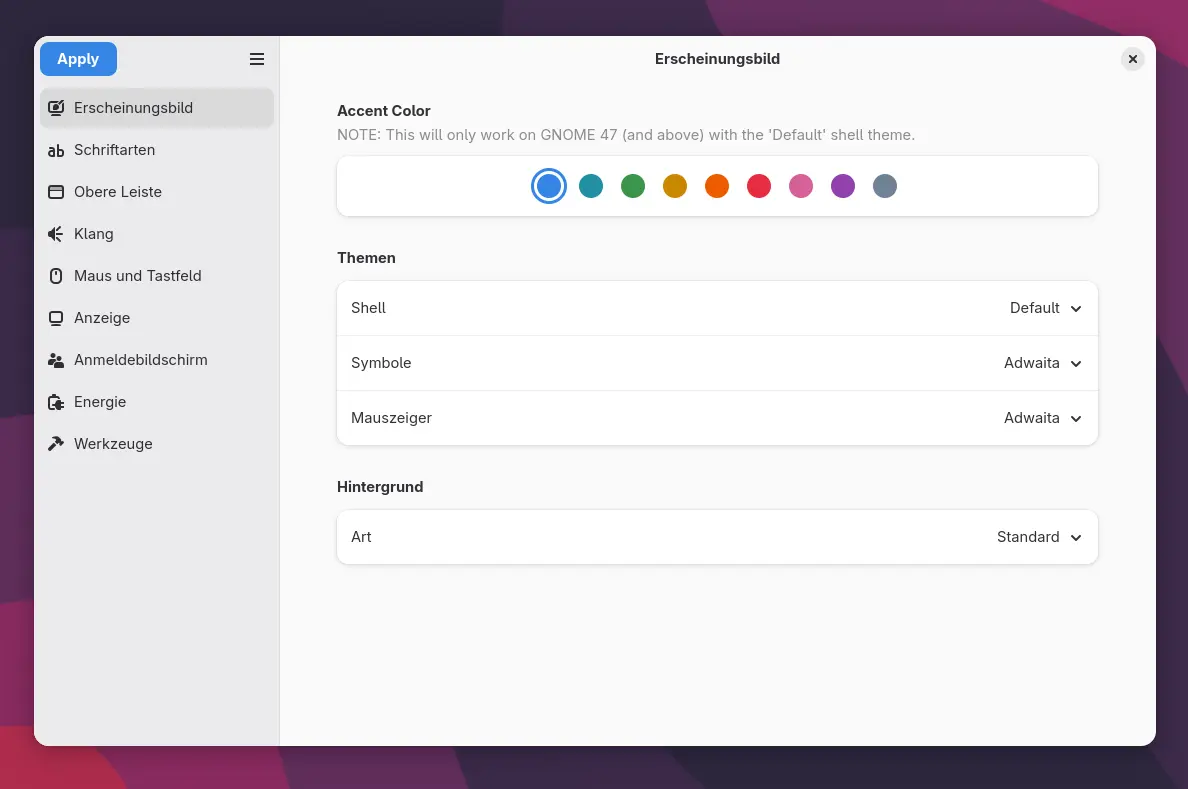
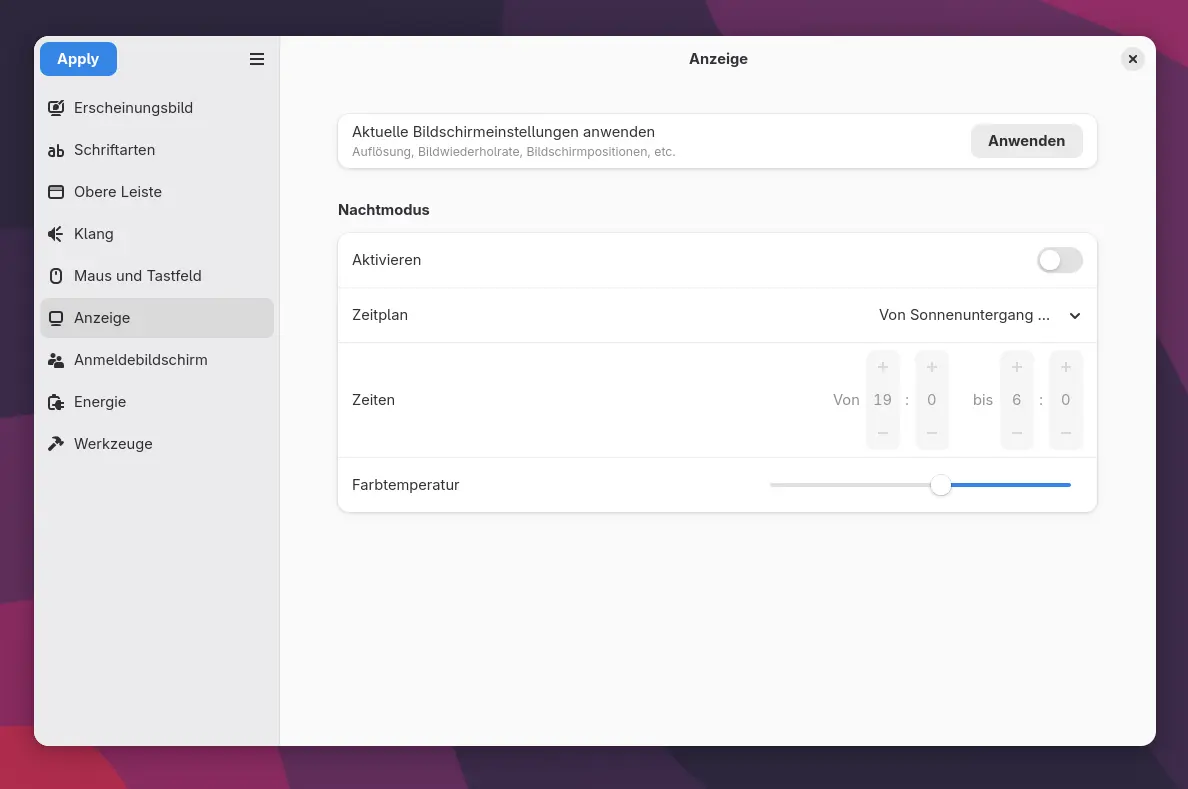
Last but not least, there is a graphical alternative. With the app GDM Settings you can configure many details of the login manager, including applying your display settings. Simply with a mouse click and without the command line.
The app is not an official GNOME tool and usually isn’t in the repositories either. You can install it without trouble via Flathub, though. Pay attention to the warning on first launch: use at your own risk. Many options change system files, which can cause problems in individual cases, but as a rule everything works as intended.
To apply the screen configuration of the currently logged-in user, open Display in the sidebar and click Apply Current Display Settings [CHECK: exact English label]. There is no automatic transfer for changing setups here, though. If you use your laptop regularly between the office and a home office, each with a different monitor configuration, the systemd variant described above is possibly the better choice.
Leave a Reply