
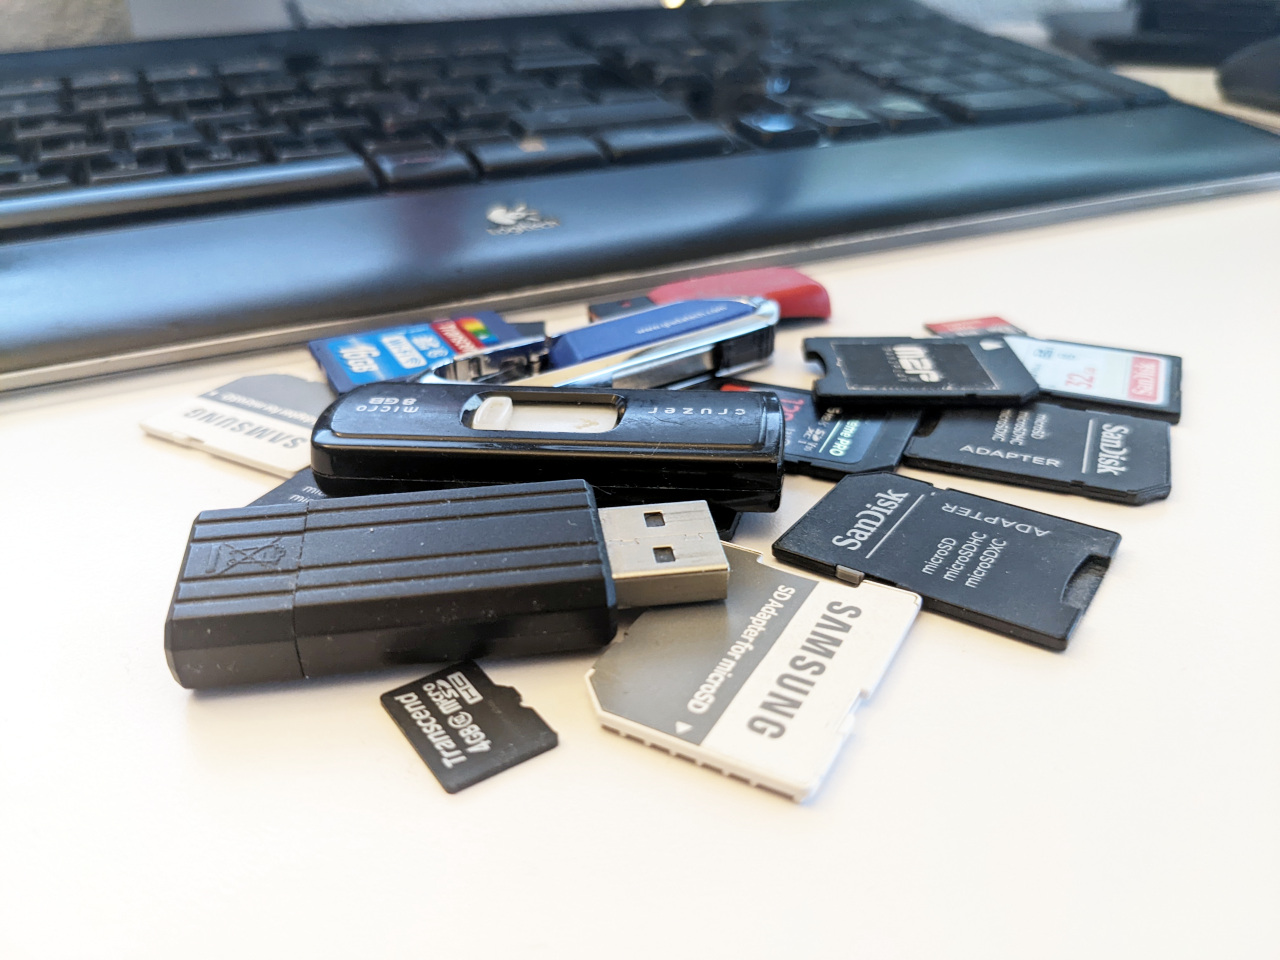
Lately I’ve often had the problem that the lousy sticks kept piling up at the top of the heap, so they were always the first ones in my hand when I reached into the junk box. At the latest when writing larger amounts of data, such as the ISO image of a Linux distribution or a Raspberry Pi OS image for a Raspberry Pi, problems appear. The read/write rate collapses, or more telling I/O errors show up right away. To rule this out, I want to check all my USB sticks and SD memory cards for errors once and sort out defective media for good. On Linux, you can do that with built-in tools.
Checking USB sticks for errors
First, you need to find out the device ID of the USB stick or memory card. So plug the device into your computer or insert the SD card into the card reader and type lsblk in the terminal. The command lists all storage devices connected to the computer. As a rule, you can identify the device ID by the size of the device. In my example, the system attaches my 8 GB USB stick as sdc (that is, /dev/sdc in full). If you’re unsure, unplug the device you want to check and run lsblk again. If sdc is missing from the list, you have the right ID. Alternatively, graphical tools such as GNOME Disks also show the ID.
$ lsblk
[...]
sdc           8:32   1   7.5G  0 disk
├─sdc1        8:33   1   2.9G  0 part /run/media/toff/Ubuntu 21.10 amd64
├─sdc2        8:34   1   4.1M  0 part
└─sdc3        8:35   1   300K  0 part
[...]
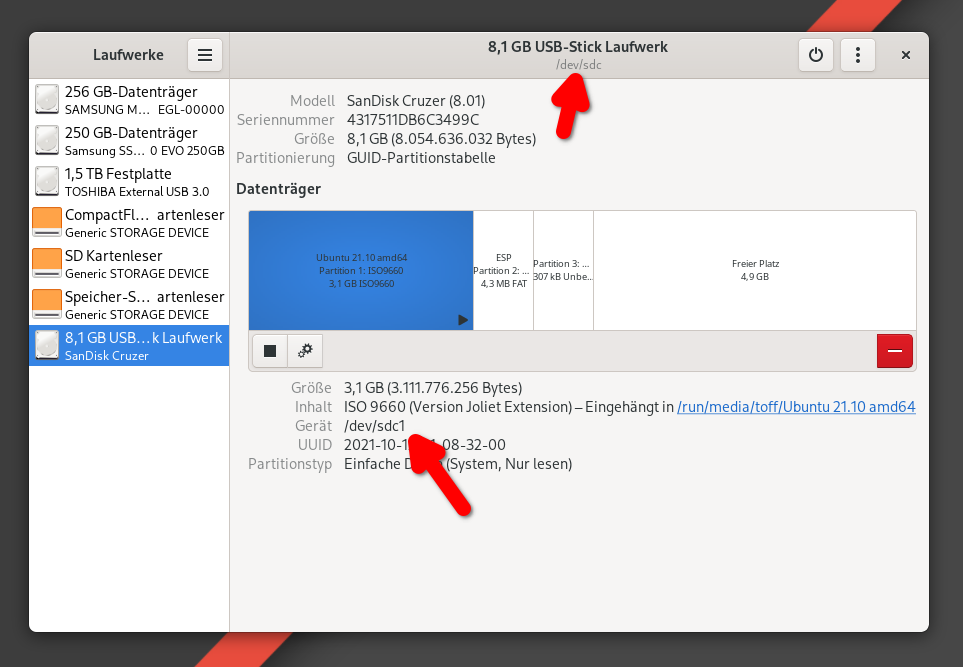
For the actual error check, the badblocks command from the e2fsprogs package comes into play, which is part of the standard installation of the usual distributions. Badblocks may refuse to start the check at first because the drive is supposedly in use by the system. This usually happens because the operating system mounts the device automatically as soon as you plug in the USB stick. On my system, clicking the eject icon in the file manager isn’t enough; I have to unmount the device ID of the drive and its partitions explicitly with umount.
Caution: I have to issue a warning at this point: when checking for errors, Badblocks overwrites all data and partitions on the specified device. So make absolutely sure you pass the right device ID to the command, and back up important data from the USB stick or SD memory card beforehand. If the worst happens, you won’t be able to recover the data after the check.
$ sudo badblocks -wsv /dev/sdc
/dev/sdc is apparently in use by the system; it's not safe to run badblocks!
$ sudo umount /dev/sdc*
umount: /dev/sdc: not mounted.
umount: /dev/sdc2: not mounted.
umount: /dev/sdc3: not mounted.
When calling Badblocks, you pass the parameters -wsv and the device ID. The parameters tell the program to run a destructive write test (-w), show the progress (-s) and output more information in general (-v). The thorough test writes every block of the device four times in a row with different patterns (0xaa, 0x55, 0xff and 0x00). Depending on speed and capacity, you need to allow quite some time for this. Checking the USB 2.0 stick with 8 GB of capacity from my example took more than an hour.
$ sudo badblocks -wsv /dev/sdc
Testing with pattern 0xaa:   0.00% done, 0:00 elapsed. (0/0/0 errors) done
Reading and comparing: done
Testing with pattern 0x55:   0.00% done, 23:47 elapsed. (0/0/0 errors) done
Reading and comparing: done
Testing with pattern 0xff:   0.00% done, 47:33 elapsed. (0/0/0 errors) done
Reading and comparing: done
Testing with pattern 0x00:   0.00% done, 1:11:26 elapsed. (0/0/0 errors) done
Reading and comparing: done
Besides the destructive method, Badblocks supports a non-destructive read-write mode. You enable it with the -n parameter instead of -w. In this variant, Badblocks first backs up the data of the block being checked to RAM, then overwrites the block with random data and checks whether the data was written correctly. Finally, Badblocks writes the backup back to the device. At first glance, this routine seems faster because there is only one pass, but in practice backing up and restoring the existing data takes considerably more time. In my example, it took more than 2.5 hours instead of just over one hour.
$ sudo badblocks -nsv /dev/sdc
Checking for bad blocks in non-destructive read-write mode
From block 0 to 7812607
Checking for bad blocks (non-destructive read-write test)
Testing with random pattern:  94.36% done, 2:35:18 elapsed. (0/0/0 errors)
Detecting fake USB sticks
The tool F3, short for Fight Flash Fraud, goes one step further. The open-source program thoroughly checks whether a storage device really has the capacity it claims to have. Unfortunately, this is still a relevant topic, especially if you buy super cheap deals online. To expose fake USB sticks or SD memory cards, install the program from your distribution’s repositories. Debian, Ubuntu, Fedora and others carry the command-line tool in their official repositories; the package is usually called f3. Arch Linux only has the program in the AUR, so you need an AUR helper to install it.
### Installation on Arch Linux or Manjaro:
$ yay -S f3
### Installation on Debian, Ubuntu or Raspberry Pi OS:
$ sudo apt install f3
The commands for checking USB storage are f3write, f3read and f3probe. You have to use the first two in combination, passing each the mount point of the device as an option. f3write keeps writing one-gigabyte files to the mounted device until it runs out of space. Then you use f3read to check whether the written data can really be read back. If the device is a fake USB stick or a manipulated SD memory card, f3read would report corrupted sectors. This check leaves all data on the device intact; you just have to delete the h2w files at the end, otherwise there’s no space left on the stick.
$ f3write /run/media/toff/291E-6F9C
[...]
Free space: 3.72 GB
Creating file 1.h2w ... OK!
Creating file 2.h2w ... OK!
Creating file 3.h2w ... OK!
Creating file 4.h2w ... OK!
Free space: 0.00 Byte
Average writing speed: 3.91 MB/s
$ f3read /run/media/toff/291E-6F9C
[...]
                  SECTORS      ok/corrupted/changed/overwritten
Validating file 1.h2w ... 2097152/        0/      0/      0
Validating file 2.h2w ... 2097152/        0/      0/      0
Validating file 3.h2w ... 2097152/        0/      0/      0
Validating file 4.h2w ... 1518736/        0/      0/      0

  Data OK: 3.72 GB (7810192 sectors)
Data LOST: 0.00 Byte (0 sectors)
	       Corrupted: 0.00 Byte (0 sectors)
	Slightly changed: 0.00 Byte (0 sectors)
	     Overwritten: 0.00 Byte (0 sectors)
Average reading speed: 14.73 MB/s
$ ls -al /run/media/toff/291E-6F9C
total 3907596
drwxr-xr-x  3 toff toff       4096 Jan  1  1970 .
drwxr-x---+ 4 root root         80 Dec  7 16:27 ..
-rw-r--r--  1 toff toff 1073741824 Dec  7 18:35 1.h2w
-rw-r--r--  1 toff toff 1073741824 Dec  7 18:40 2.h2w
-rw-r--r--  1 toff toff 1073741824 Dec  7 18:44 3.h2w
-rw-r--r--  1 toff toff  777592832 Dec  7 18:47 4.h2w
[...]
f3probe --destructive works a little faster. The --destructive option is optional, but it speeds things up considerably. In this test, F3 only writes the sectors it absolutely needs and doesn’t bother with backing up data. Since the probe accesses the hardware directly, you pass the device ID (here /dev/sdg) instead of the mount point. This way, the test with my 4 GB USB 2.0 stick takes only a little more than seven minutes. Keep in mind again, though, that this routine overwrites all data blocks on the device.
$ f3probe --destructive --time-ops /dev/sdg
[...]
Good news: The device `/dev/sdg' is the real thing

Device geometry:
	         *Usable* size: 3.73 GB (7831552 blocks)
	        Announced size: 3.73 GB (7831552 blocks)
	                Module: 4.00 GB (2^32 Bytes)
	Approximate cache size: 0.00 Byte (0 blocks), need-reset=no
	   Physical block size: 512.00 Byte (2^9 Bytes)

Probe time: 7'17"
 Operation: total time / count = avg time
      Read: 2.73s / 4812 = 568us
     Write: 7'13" / 3637313 = 119us
     Reset: 1us / 1 = 1us
Both Badblocks and F3 help you analyze errors on storage devices. You always need to bring a bit of time for the check, though. A thorough analysis of an 8 GB USB stick can easily take two hours, especially if the data is to be preserved during the check and the stick only supports the slow USB 2.0 protocol. Afterward, however, you can assume that the USB stick or SD memory card really works and has the capacity printed on the label.

Leave a Reply