
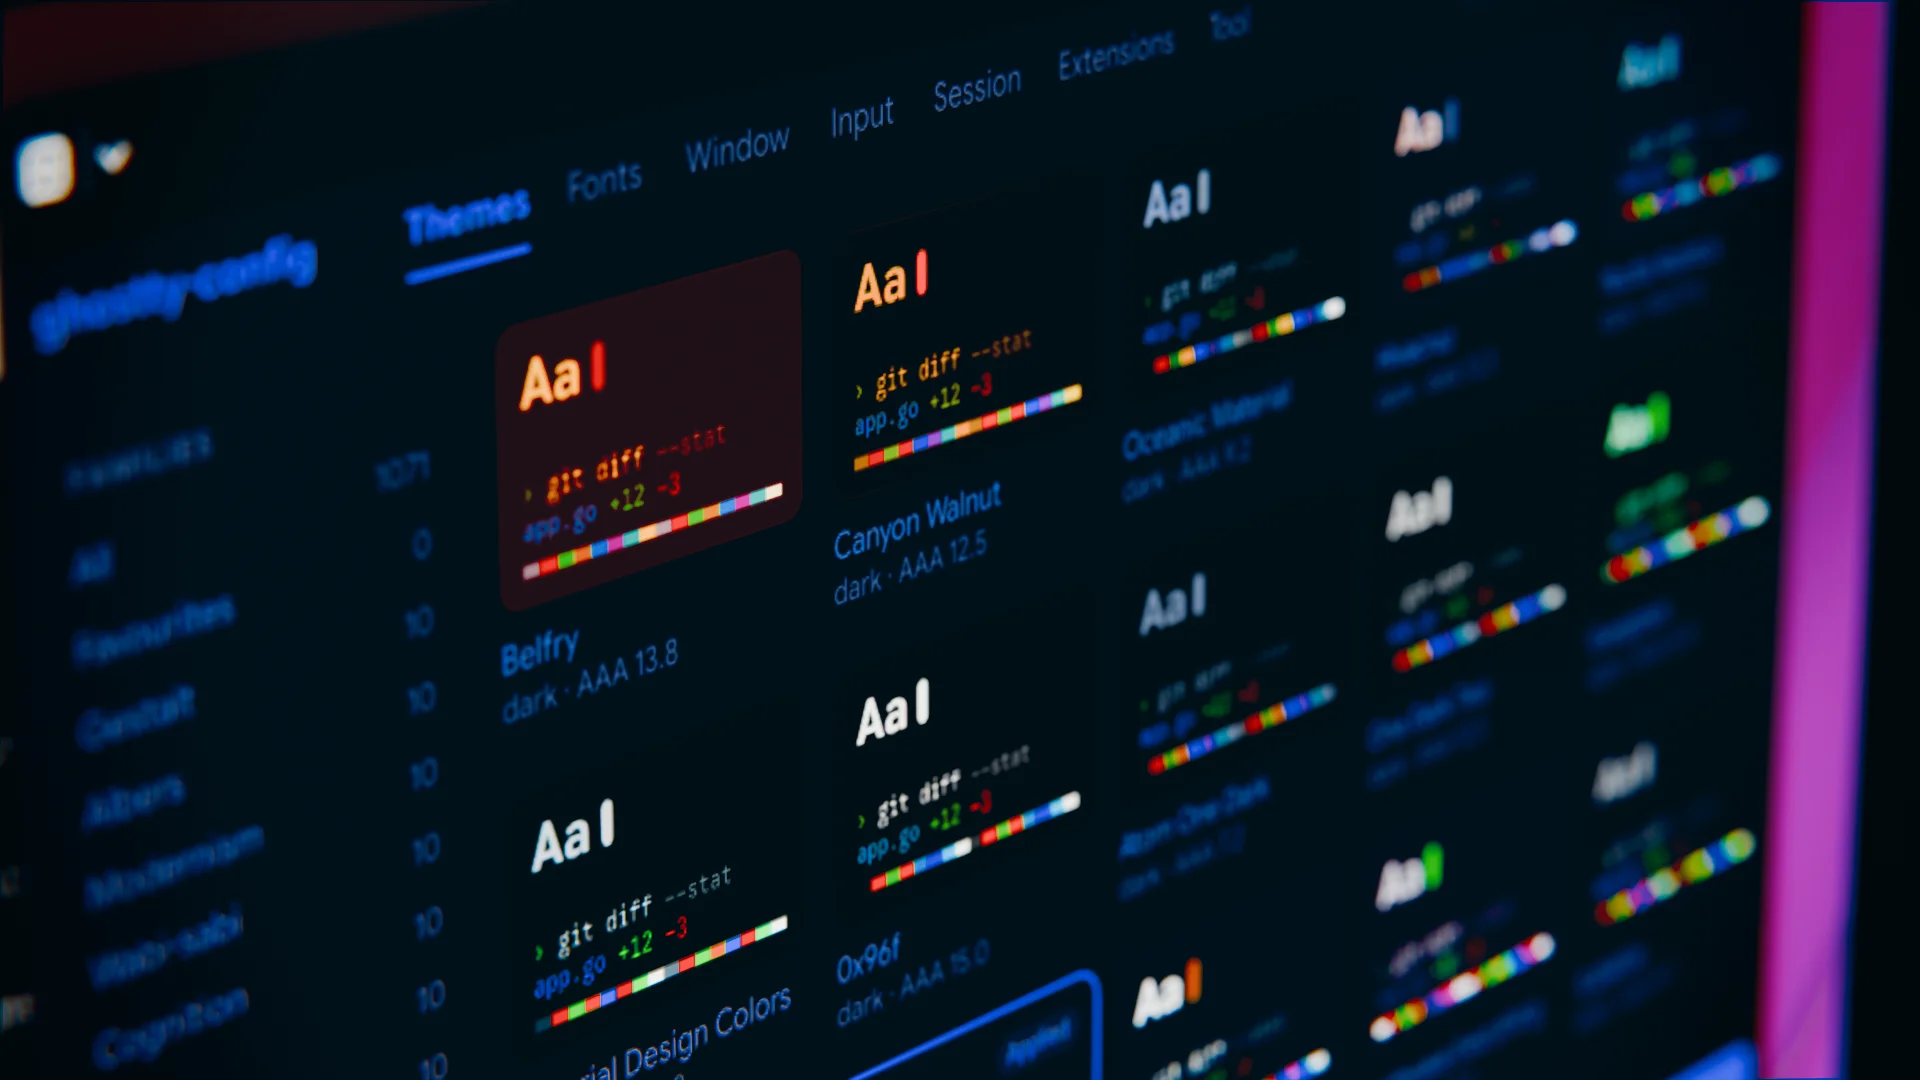
Ghostty has replaced Tilix as my go-to terminal app, and I only walked you through what’s new in Ghostty 1.4 last week. One point I only touched on there: Ghostty has no menu bar with settings dialogs. If you want a different font or a new color scheme, you edit the config by hand. ghostty-config, which has just reached version 2.0, fixes that.
Configuration by text file only
You configure Ghostty through the file ~/.config/ghostty/config, where you write lines such as font-size = 12. Ghostty itself tells you which options exist in the first place. The following command lists every setting along with its explanation. For Ghostty 1.4.0, that adds up to 211 options and a good 4,300 lines of text. Happy reading.
ghostty +show-config --default --docs | less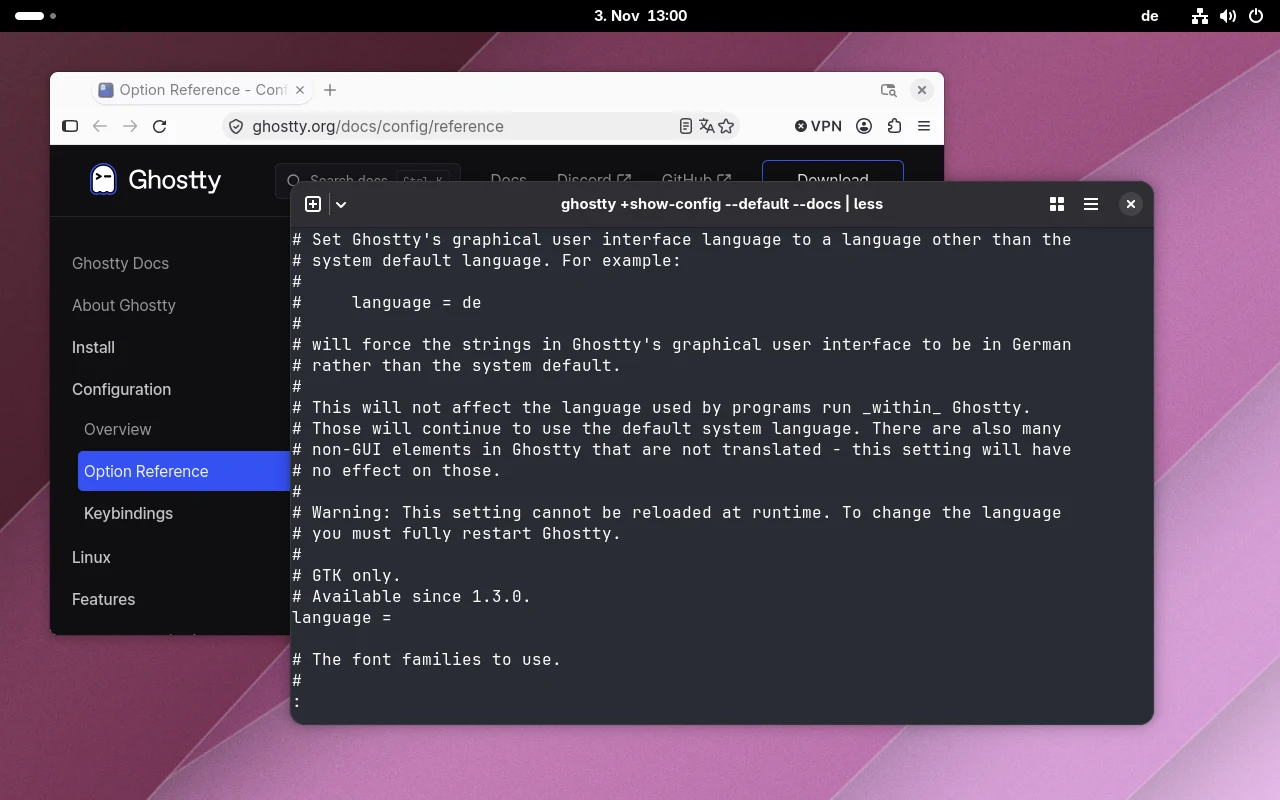
The website isn’t much different. The option reference is a very long page, and the developers themselves recommend using your browser’s search. At least they are aware of the problem and promise “a more user-friendly way to view and organize these options” for the future. Until then, other projects step in to fill the gap, and ghostty-config is one of them.
What is ghostty-config?
ghostty-config comes from Vitruves, the name of the developer account on GitHub and Reddit. The program is written in Go, licensed under MIT and runs on Linux and macOS. It doesn’t open a window of its own; the interface runs right in the terminal. Themes, fonts, window, input, session and extensions each get their own tab, plus a section for the tool itself.
In Ghostty and Kitty, ghostty-config draws its interface as images, thanks to the Kitty graphics protocol. File managers such as Tfm use the same protocol to bring image previews into the terminal. That’s why the whole thing looks more like a desktop app than a classic terminal program. In other terminals and in Tmux, the program falls back to plain text characters. The interface is English only.
Three layouts in version 2.0
Version 2.0.0 came out on November 1, a little over a month after the project started on GitHub. According to Vitruves, a lot of it comes from the comments on the previous announcement on Reddit. The biggest change is two additional layouts. On first launch, ghostty-config asks how you want to work; later you switch with F4 or via Tool › Interface › Layout.
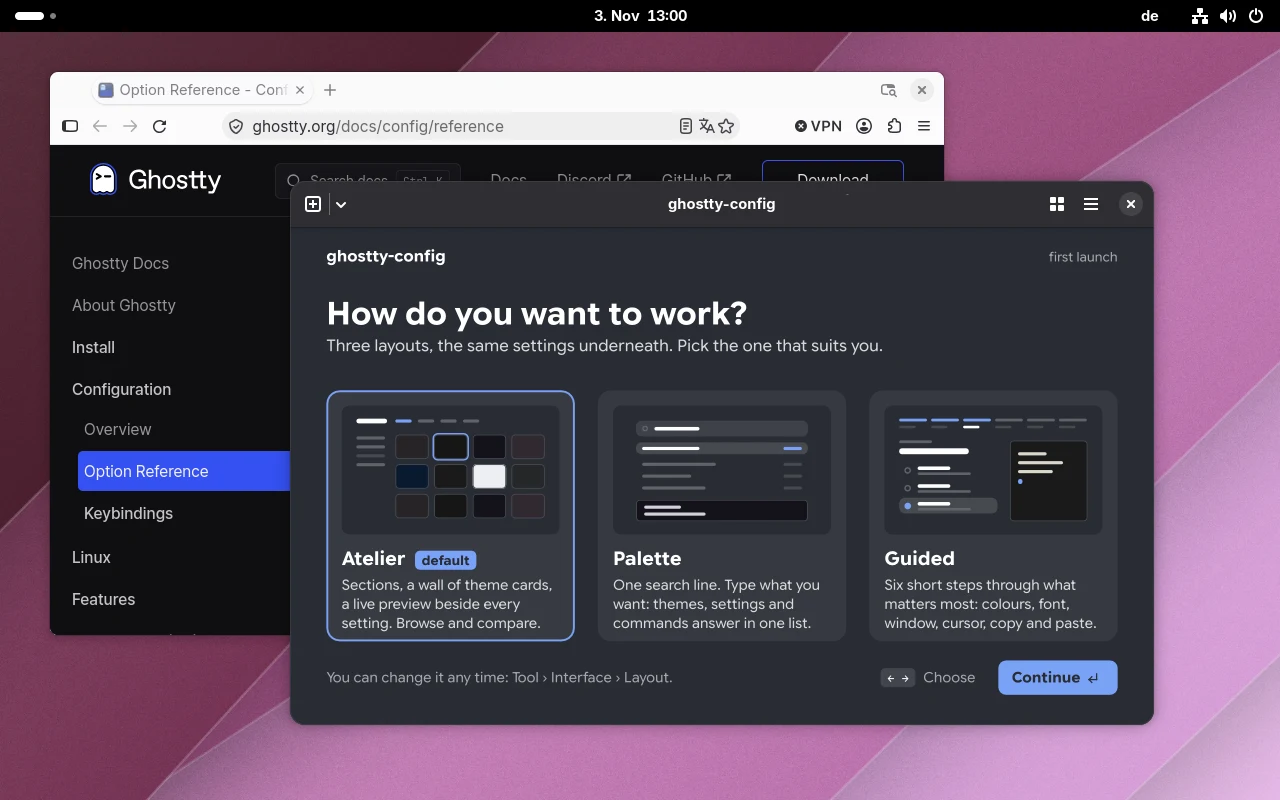
Atelier is the previous interface and still the default. The sections sit on the left, a wall of cards for a total of 1,071 themes on the right. Each card shows a small preview with Git output, color palette and contrast score. You move through the wall with the arrow keys without changing anything. Only pressing Enter writes the theme to the config and makes Ghostty reload.
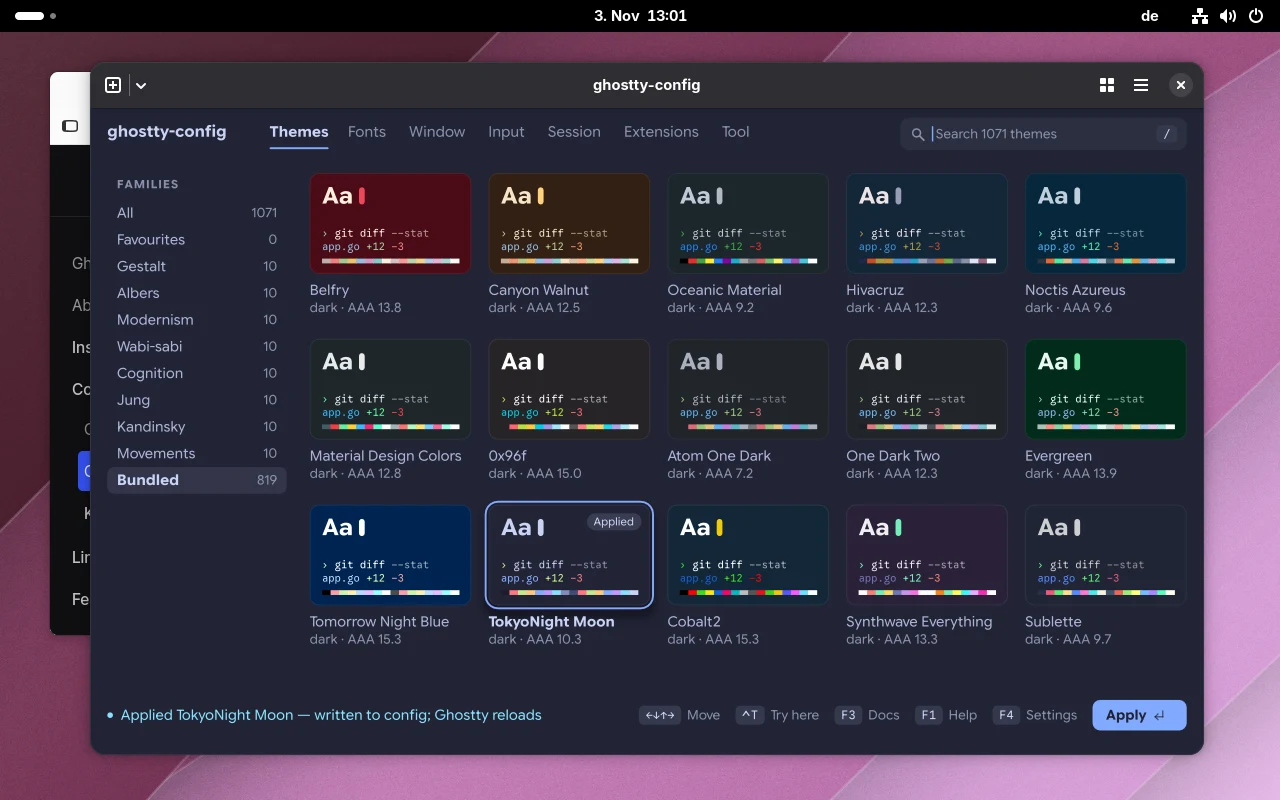
Ghostty 1.4 ships 819 of these themes itself; Vitruves sorted the remaining 252 into families with names such as Albers, Kandinsky, Wabi-sabi or Jung. If you only want to try a theme, press Ctrl+T. Then just the current terminal changes its colors, and the config stays untouched. Ctrl+F adds a theme to your list of favorites.
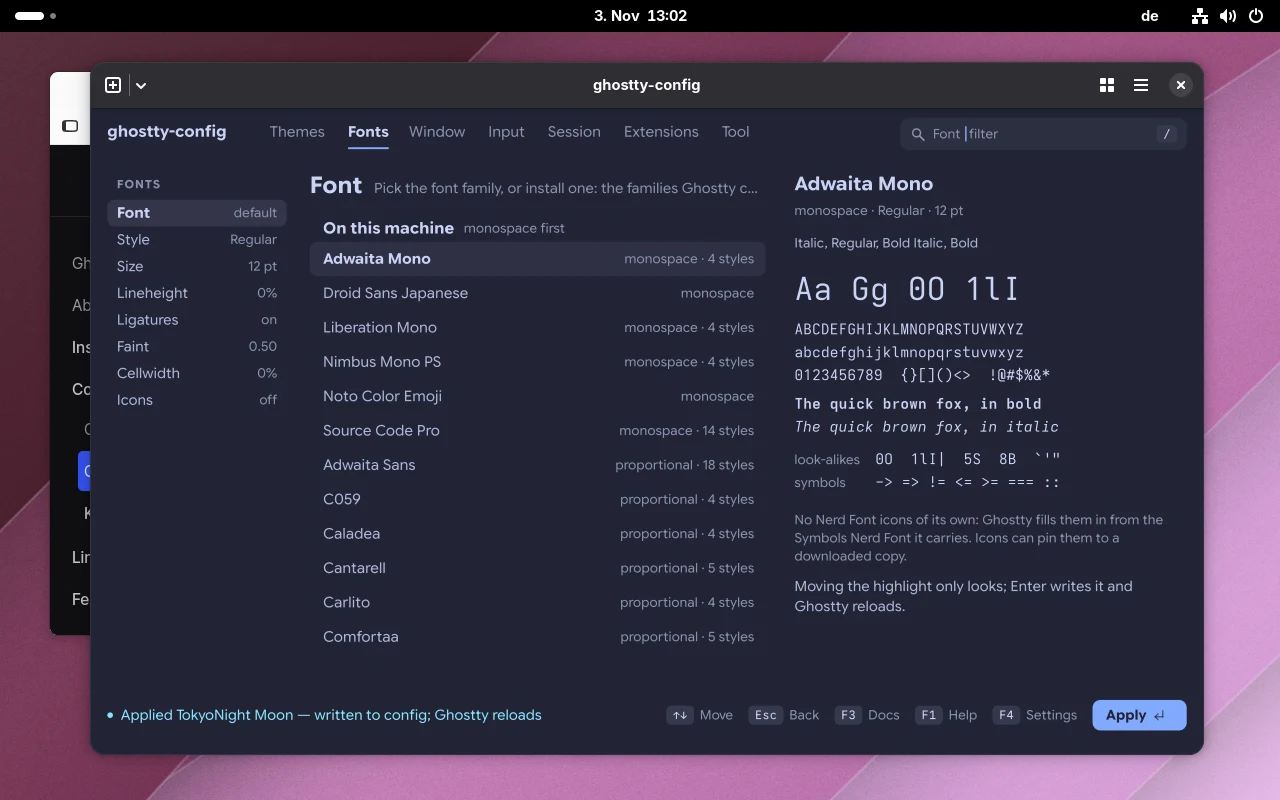
The Fonts tab works in a similar way. There you pick font family, style and size and see a sample for each font, including easily confused characters such as 0 and O or 1, l and I. Line height, ligatures and letter spacing are set with sliders. If you’re missing a suitable font, ghostty-config offers 70 monospace families that it downloads with a single Enter.
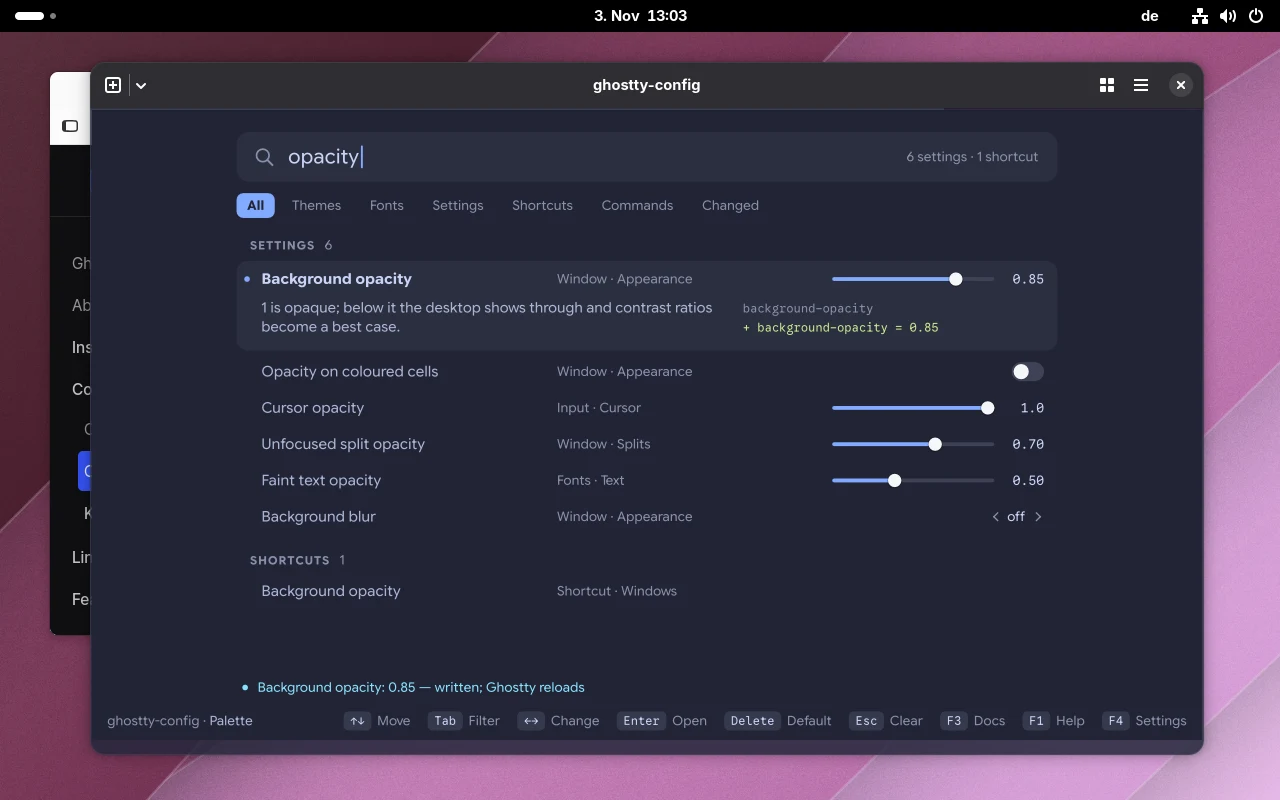
Palette, on the other hand, relies on a single search field for themes, fonts, settings, shortcuts and commands. Type “opacity”, for example, and ghostty-config lists all matching settings. You can change the highlighted one right in the list, and next to it you see the line that will end up in the config. If you know what you’re looking for, this is the fastest way to get there. F3 also shows Ghostty’s own explanation of the option.
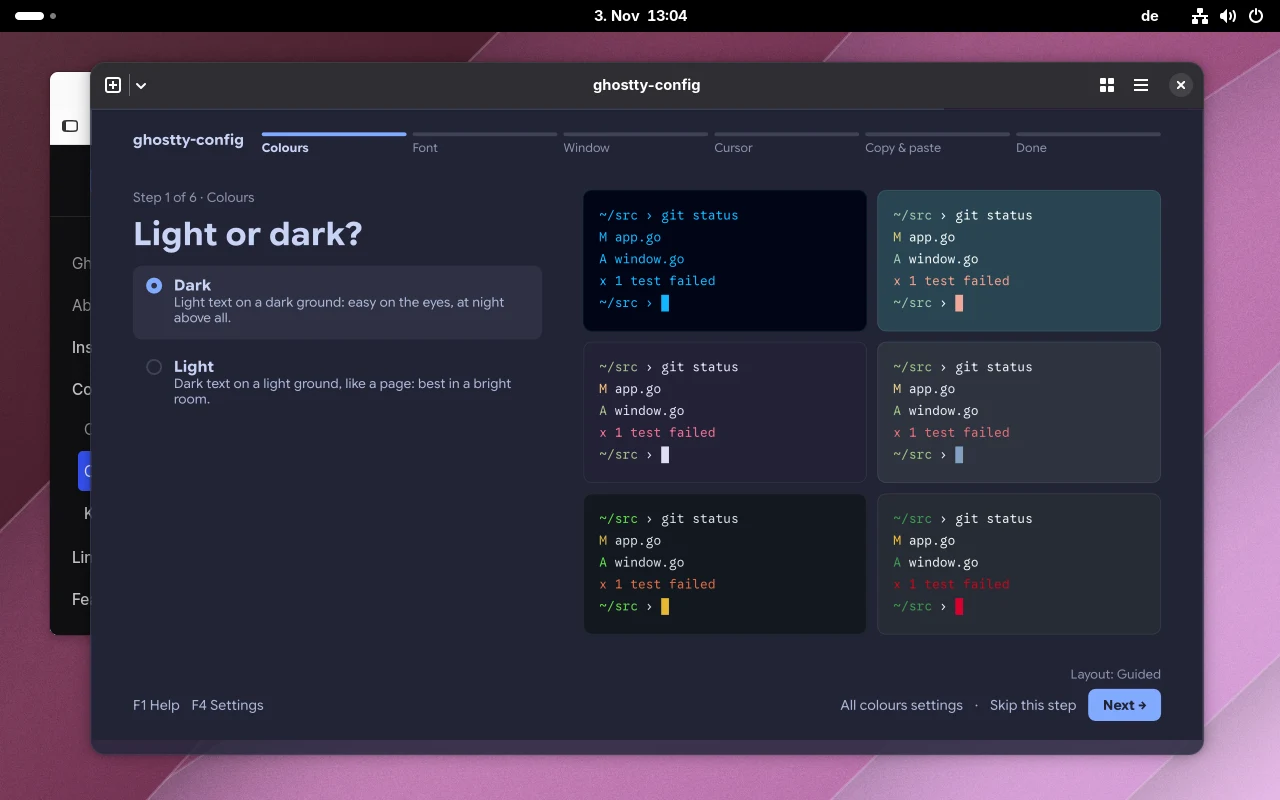
Guided is meant for everyone who doesn’t want to scroll through every option. The layout takes you through colors, font, window, cursor, and copy and paste in six steps and asks simple questions along the way, such as whether you want a light or a dark terminal. Each step comes with large previews. If you do want to set more, a link takes you to all the options for that topic.
On top of that, ghostty-config has become snappier. According to the changelog, it now takes 42 instead of 103 milliseconds to the first frame, and the interface draws two to six times faster. The program also knows the new options of Ghostty 1.4, but only offers them if version 1.4 is actually installed. If you’re still on Ghostty 1.3, you can keep using ghostty-config.
What ghostty-config writes to the file
With a tool that writes to my config, I want to know exactly what it does there. ghostty-config changes each setting on a line of its own and leaves comments in place. Before the first change, it creates a backup in ~/.config/ghostty-config/backups/. After every write, it checks the file with ghostty +validate-config and shows any errors along with the line number.
I tried the whole thing in a Fedora VM with a new theme and a bit of transparency. The first four lines were already in the file; ghostty-config added the last two, each with a blank line in front. That keeps the config readable, and you can always go back to editing it by hand if you prefer.
# Ghostty
font-size = 12
window-width = 100
window-height = 30

theme = TokyoNight Moon

background-opacity = 0.85
On Linux, ghostty-config asks Ghostty via D-Bus to reload its configuration. In my test this worked without any extra steps, and Ghostty acknowledged every change with a “Konfiguration wurde neu geladen” (configuration reloaded) toast on my German system. According to the documentation, this needs gdbus and a Ghostty instance that bundles all windows; otherwise you reload Ghostty yourself. By the way, when you quit, ghostty-config copies its 252 own themes to ~/.config/ghostty/themes.
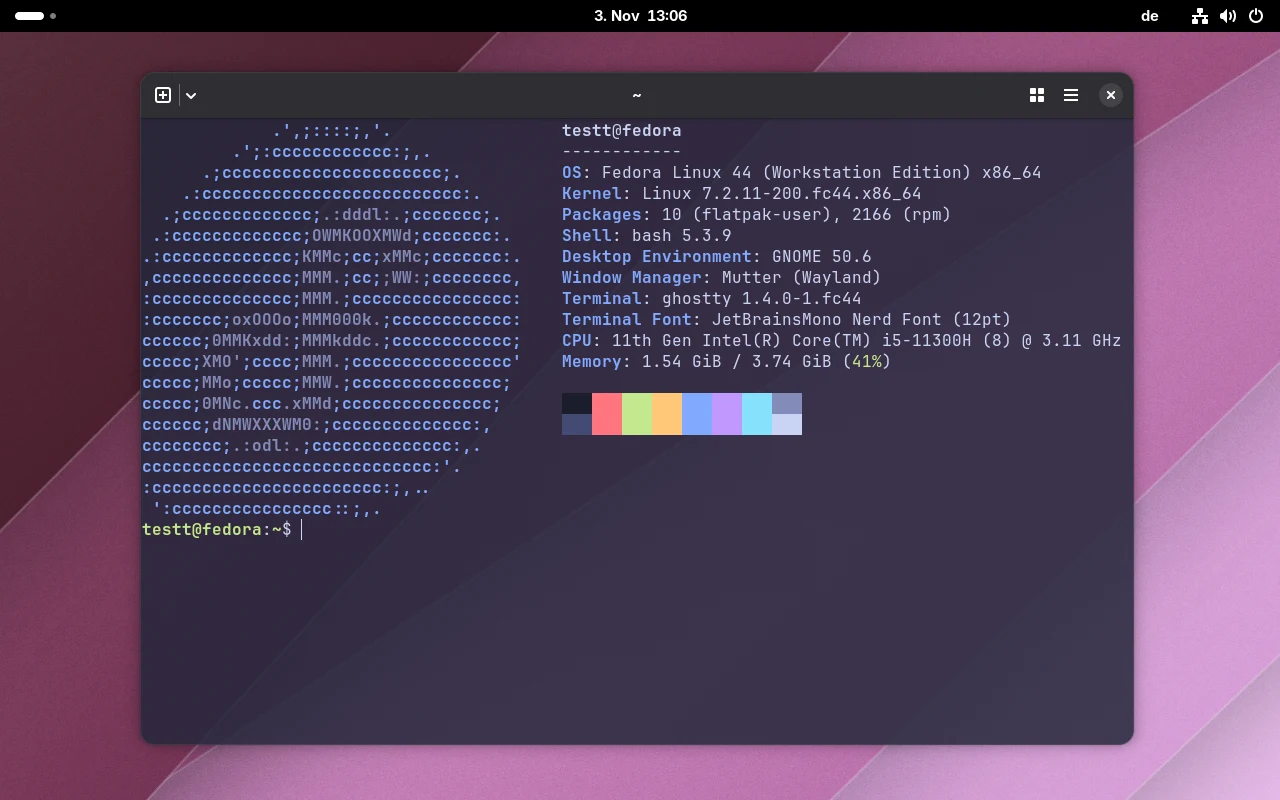
In the Reddit thread about the new version, someone asked why you should set the theme in Ghostty rather than in Zsh. The answer from the community: prompts and scripts mostly use color names such as red or green, and the terminal decides the exact shade. Switch the theme in Ghostty and everything follows along, without you having to redefine the colors in your shell.
Installation
ghostty-config installs with a one-liner. The script downloads the right binary for your system, verifies its checksum and puts it in ~/.local/bin. If you don’t blindly pipe scripts from the internet into your shell, download the file first and read it. There isn’t much more in it than the steps described, and according to a comment, the only thing counted is that the script was fetched.
curl -fsSL https://ghostty-config.vitruves.workers.dev/install.sh | sh
ghostty-config
To update, simply run the same command again. On top of that, ghostty-config checks GitHub for a new version at most once an hour; you can turn that off under F4. There are no distribution packages yet. The AUR package ghostty-config-cli, by the way, belongs to a different project with a similar idea. Ghostty itself came from the scottames/ghostty COPR repository in my Fedora VM.
All in all, ghostty-config is in my opinion the tool Ghostty has been missing so far. It doesn’t replace a settings dialog, but you can set a new theme or a different font with the arrow keys and Enter, and the config stays a readable text file. For a project that’s only a little over a month old, that’s pretty well rounded. How do you set up your terminal, by hand or with a tool?
Leave a Reply